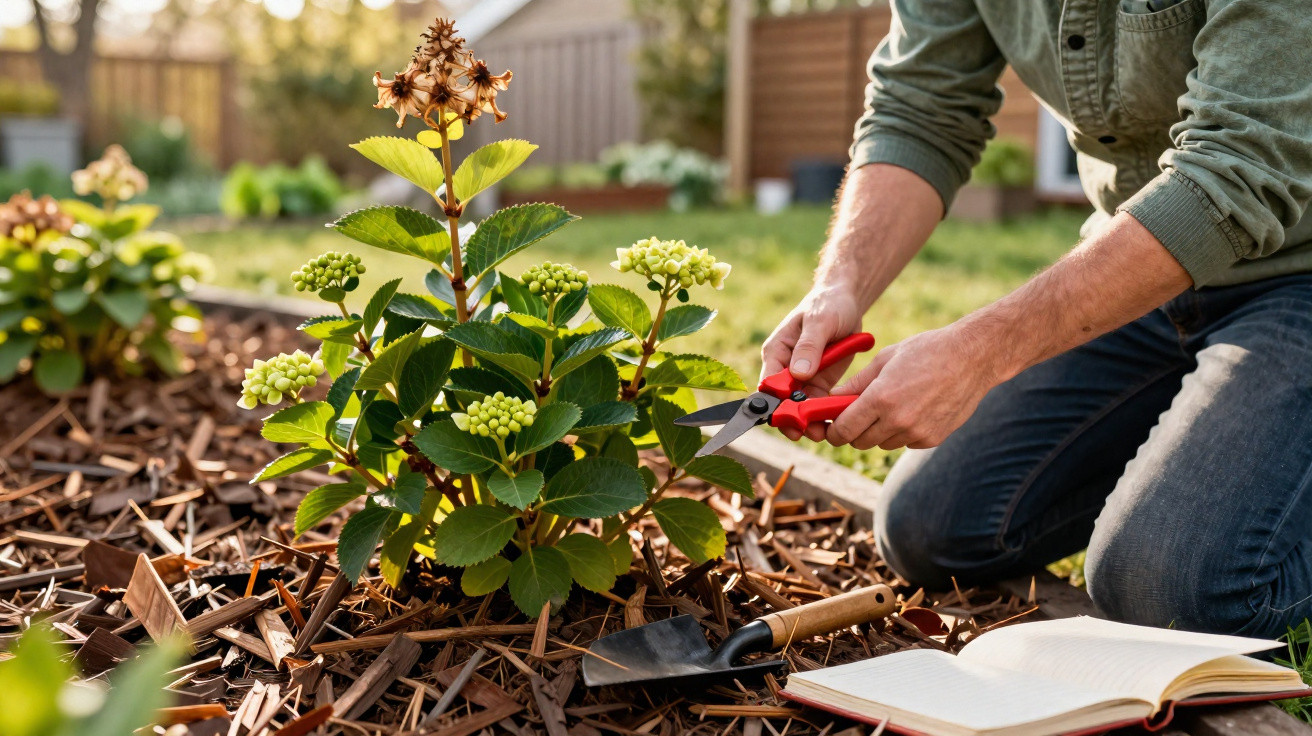
Many amateur gardeners do everything right in spring – yet still ruin their hydrangeas with one tiny mistake.
Anyone hoping for dense, plump flower heads on their hydrangeas in summer needs to look closely in March. Television gardener Monty Don relies on an inconspicuous little task that hardly anyone carries out – yet it determines whether the plant produces lavish blooms or lacklustre foliage.
Why March determines hydrangea flowers
Hydrangeas are not straightforward bedding plants. The especially popular mophead and lacecap hydrangeas (Hydrangea macrophylla) produce their flowers on what is known as “old wood” – stems that grew in the previous year. Cutting those stems at the wrong time removes the entire set of flower buds for the coming summer.
Something crucial happens within the shrub in March: buds gradually begin to swell, even though nights can still bring frost. This is the first point at which you can see which stems are alive, where the buds are positioned and which tips have been damaged over winter. For Monty Don, it is the ideal moment – but only for one precise and gentle job.
“The difference between a glorious display of flowers and a green foliage monster often comes down to one correctly placed cut in March.”
Many people cut their hydrangeas right back in late winter because that is what they are used to doing with roses. The result is harsh: summer brings leaves rather than flowers. Monty Don therefore repeatedly stresses the difference between a hard prune and careful deadheading.
Deadheading rather than hard pruning: Monty Don’s small routine
The method is essentially simple, but it requires real consistency: in March, remove only the spent flower heads – not the whole stem.
How to prune in March, step by step
- Wait until the worst frosts have passed – usually towards the end of March, depending on the region.
- Identify the old flower heads – the brown, papery balls left from the previous year.
- Locate healthy buds – beneath the old flower head, each stem has one or two clearly visible pairs of buds.
- Cut immediately above the upper pair of buds – just a few centimetres below the old flower.
- Remove only genuinely dead wood – stems with no buds that are dry and brittle can be cut out at the base.
The principle is simple: the old flower head is taken away while the young buds remain entirely intact. During spring, these buds develop into strong shoots carrying the much-awaited summer flowers. Cutting further down, by contrast, removes precisely these developing flower buds.
“Take off only the old flowers and leave the buds beneath them – that is all it takes to save the entire summer display.”
Gardener Sophie Law says from personal experience that deadheading late, after the final frosty night, is the safest approach. Only then are winter injuries clearly visible, avoiding the accidental removal of viable buds. The result is noticeably fuller flower heads and a much more even display.
The most common hydrangea mistakes in spring
The same mishaps occur in front gardens year after year. Three pitfalls are particularly common:
Pruning too early in January or February
Plants are still dormant and their buds are barely visible. Tidying up with the secateurs at this stage can unknowingly remove the entire crop of flower buds.Hard shaping as though they were shrubs or roses
Cutting back old stems severely removes the flowering foundation of mophead hydrangeas, as their blooms form on old wood rather than new growth.Pulling at buds without being sure
Some people snap off tips that appear dried out without looking closely. Healthy buds are often sitting immediately beneath them and are removed at the same time.
This is exactly where Monty Don’s approach comes in: it is better to inspect every stem carefully with secateurs once than to shear the whole plant into a supposedly tidy shape.
Monty Don’s winter routine: mulch as a hidden source of strength
Pruning is only half the job. Monty Don combines his March routine with another habit that is rarely noticed but has a major effect: applying a thick layer of organic mulch in winter.
When and how to apply mulch
In January, when beds look bare and hydrangeas are little more than skeletal branches, he spreads well-rotted organic material around the plants. Suitable options include:
- mature garden compost
- mushroom compost
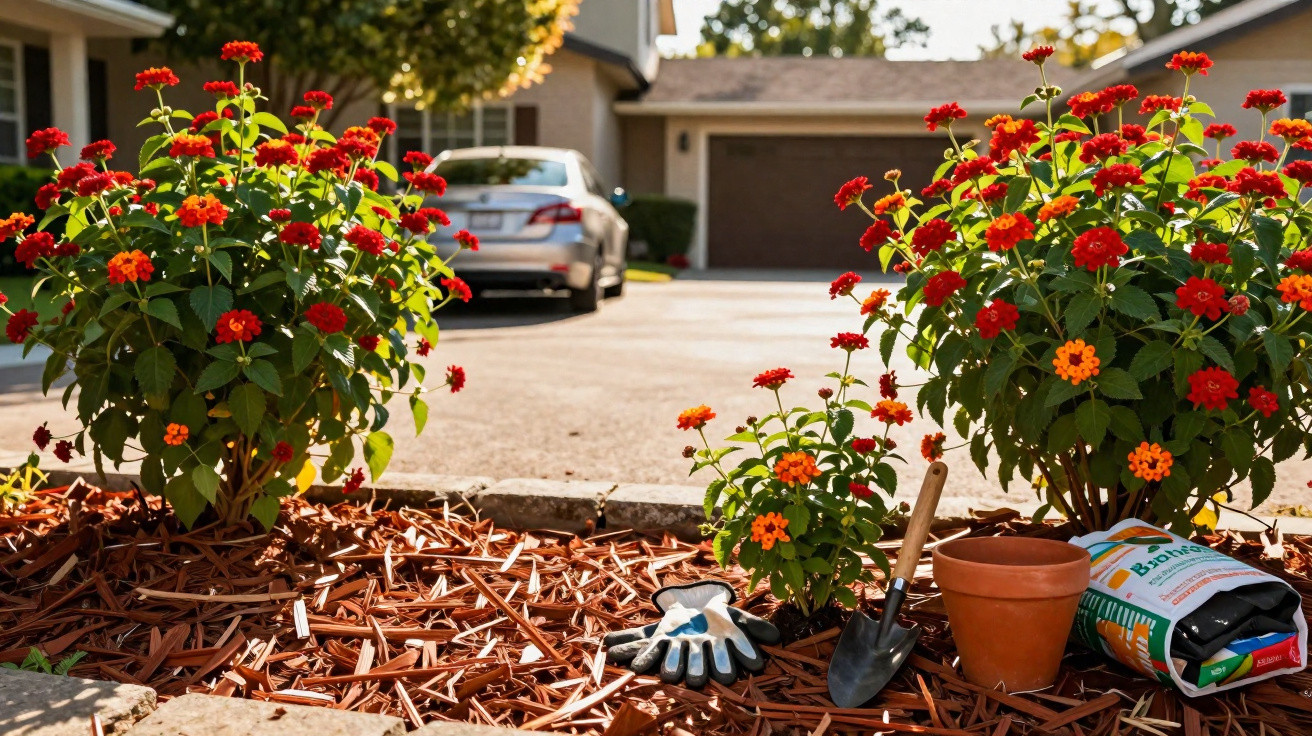
- bark mulch or chipped bark, preferably slightly acidic, such as pine bark
The depth of the layer is crucial. Monty Don recommends at least around 5 cm, and preferably more. Many gardening guides support this range: 5 to 10 cm around the root area is considered ideal.
| Mulch depth | Effect |
|---|---|
| 2–3 cm | Visual covering with limited protective benefit |
| 5 cm | Good protection against drying out and an initial nutrient benefit |
| 8–10 cm | Strong weed suppression and noticeable soil improvement |
His view is that it is better to mulch part of the garden properly and deeply than to spread a token thin layer everywhere. The roots are effectively covered by a blanket, the soil retains moisture for longer, and microorganisms gradually turn the material into nutrients. This later benefits the flowers directly.
What mulch and light pruning achieve together
Combining careful deadheading in March with a substantial layer of winter mulch makes a noticeable difference to hydrangeas over several years. Shrubs develop more evenly, grow from a more stable base and need complete rejuvenation less often.
Well-mulched soil holds rainwater for longer, which particularly suits hydrangeas because they are sensitive to drought stress. At the same time, mulch shields the root zone from extreme temperature changes, reducing damage from late frosts. When the roots remain healthy, plants can direct more energy into flowering rather than simply surviving.
Which hydrangeas does this trick suit – and which does it not?
This gentle March pruning method is intended chiefly for varieties that flower on old wood, namely traditional mophead and lacecap hydrangeas. For these plants, a hard cutback would effectively mean a year without flowers.
However, some hydrangea species flower on new wood, including panicle hydrangeas (Hydrangea paniculata) and smooth hydrangeas (Hydrangea arborescens). They cope far better with harder pruning and are often deliberately cut back more firmly to keep them compact. Monty Don’s light pruning is not essential for these varieties, although mulching still helps them enormously.
Practical examples for your own garden
If you are unsure whether your hydrangea flowers on old or new wood, inspect the shrub carefully during summer. If flowers appear mainly on older, woody stems, it is usually a macrophylla variety. In that case, targeted removal of the brown flower balls is all that is needed the following spring – cutting directly above the first healthy pair of buds.
Anyone who has cut their plant back radically for the past few years and seen few flowers should make a “fresh start”. For one year, remove only dead wood, apply a thick layer of mulch and prune very lightly and deliberately in March. It often takes one or two seasons for the hydrangea to return fully to form – but patience is rewarded with impressive flower heads.
Risks of continuing to prune incorrectly
Repeatedly shortening the stems every spring leaves the plant stuck in a cycle of producing foliage without forming flowers. Some hydrangeas respond with very uneven growth: long, thin stems, plenty of green and little colour. There is also a risk of frost stress when buds are exposed too early and left without protection.
The apparently “neat” pruning job therefore creates the exact opposite of what many gardeners want. Monty Don’s method involves cutting less in March but doing so more precisely – and the reward becomes visible only months later, when the shrub is covered in large flower heads.

Comments
No comments yet. Be the first to comment!
Leave a Comment