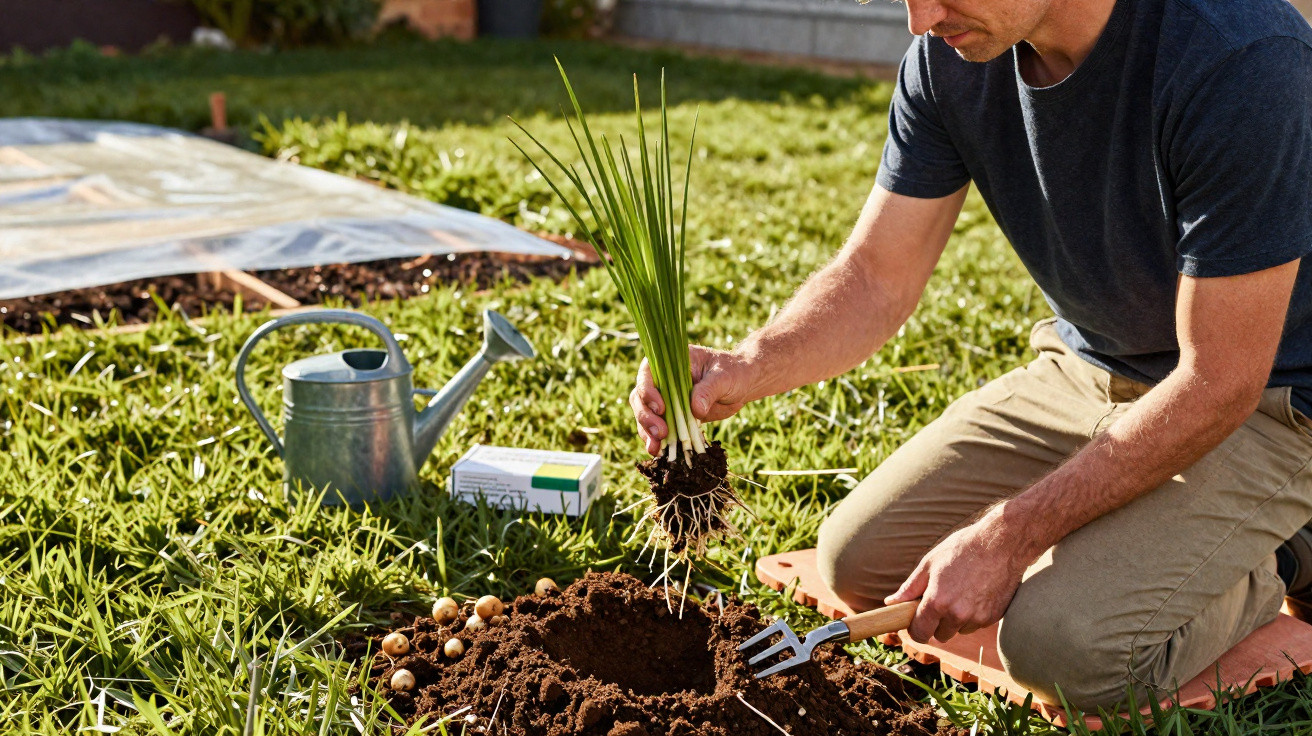
Nutsedge, botanically known as Cyperus rotundus, is regarded around the world as one of the most troublesome garden weeds. At first glance, it resembles harmless grass, but below ground it develops an exceptionally persistent network of tubers and creeping roots. Pulling off only the growth above the soil can result in twice as much returning within a few weeks. The nuisance can nevertheless be substantially contained with the right approach, although it takes planning, patience and consistency.
How to identify nutsedge reliably
Before tackling nutsedge, it is essential to confirm that it is actually the weed in question. It is often mistaken for ordinary lawn grass or other grasses.
- The stem test: Nutsedge stems are triangular. Roll one between your fingers and the distinct edges can clearly be felt.
- Leaves in groups of three: Its leaves usually emerge from the base in threes and grow noticeably upright.
- Flower heads: Yellowish-brown, umbrella-shaped flower clusters develop at the tips of the stems during summer.
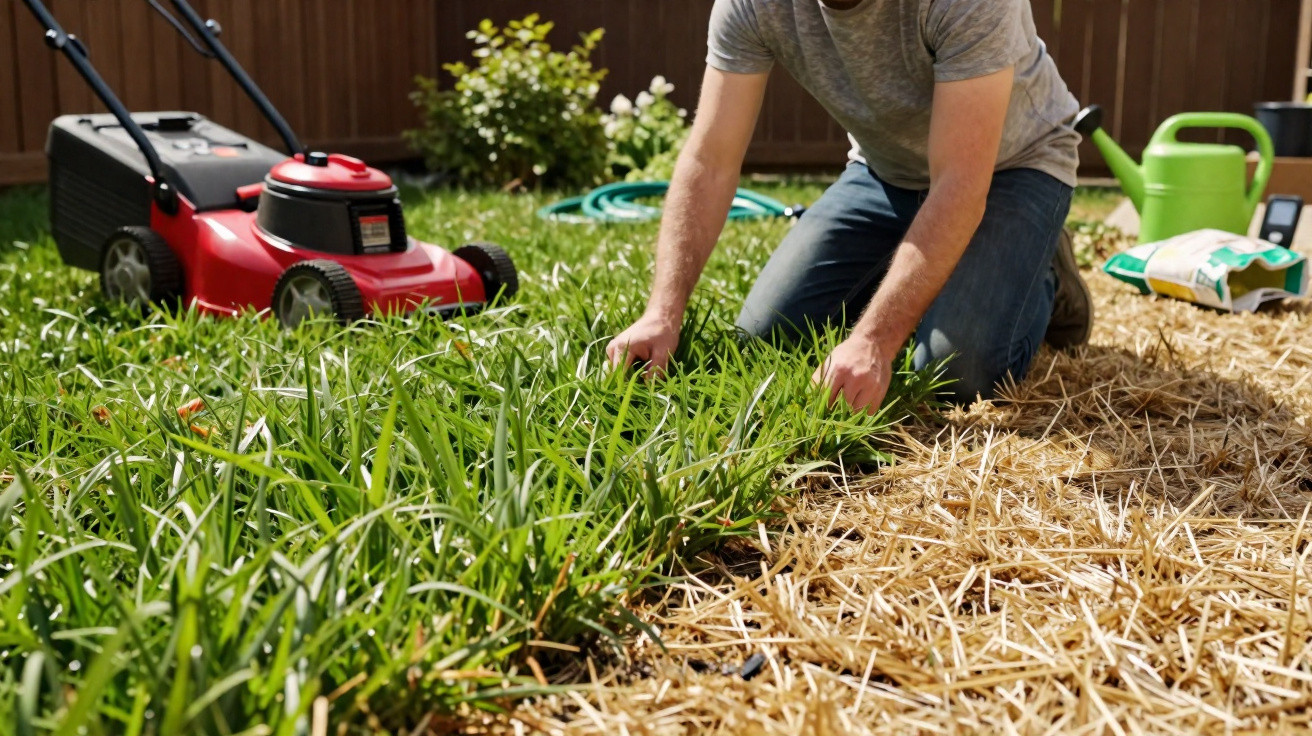
- Growth habit: Within a few days of mowing, it commonly grows visibly taller than the surrounding lawn again.
In a lawn, it typically appears as isolated, significantly taller clumps that protrude like “aerials” again shortly after cutting. Beneath the turf is a web of rhizomes and small tubers. Each tuber can produce fresh shoots, even when all visible growth has already been removed.
Nutsedge becomes particularly active from late spring onwards, once the soil remains consistently warm. It grows vigorously during hot summer weeks and produces large numbers of new tubers. This is precisely the best period to take effective action.
“Nutsedge is not defeated by a one-off action, but by consistent weakening – over weeks and months.”
Mechanical methods: digging out, loosening and exhausting it
Dig it out properly rather than pulling frantically
Anyone avoiding chemical products will inevitably be doing manual work. Simply pulling off the top growth achieves virtually nothing. A systematic method is much more effective when dealing seriously with nutsedge:
- Water the affected area thoroughly the day before so that the soil becomes soft.
- Use a weeding tool or garden fork to loosen the soil deeply around the clumps.
- Grip the plant as close to its base as possible, then pull it out slowly and steadily.
- Follow the root trail using the fork or your hands, removing entire chains of tubers.
- Put all plant material in bags and dispose of it with household waste rather than adding it to the compost heap.
- Inspect the area closely over the following weeks and remove any new shoots immediately.
Depth is crucial: nutsedge tubers often sit 15 to 30 centimetres below the surface. Working too shallowly leaves sufficient material underground for the weed to sprout again soon afterwards.
Rotavating – benefit or risk?
Using a powered cultivator or rotavator may initially seem appealing: one pass and everything is broken up. With nutsedge, however, this can be counterproductive. Every tuber that is cut into pieces can form new plants. Anyone who chooses to rotavate must do so very consistently, covering the whole area every two weeks throughout the growing period in order to gradually drain the tubers’ reserves. This method requires considerable time, but avoids chemical products.
Soil solarisation: using heat beneath plastic sheeting
For beds that are currently unplanted, soil solarisation offers a heat-based option. The ground is watered heavily before clear plastic sheeting is placed airtight over the soil, with its edges weighted down using earth or stones. Summer heat builds up beneath the sheet, allowing temperatures in the upper soil layers to rise well above 60 degrees Celsius.
If the covering remains in place for four to six weeks, many tubers will die. Sunny, hot spells are ideal for this approach. Its drawback is that the bed cannot be used for vegetables or flowers during that period, so it is best planned in advance.
Chemical products: when they can be useful
Manual removal and solarisation can quickly reach their limits where infestations are severe. Many gardeners then turn to herbicides. Their use requires careful consideration, but they can provide targeted support.
| Herbicide type | Active ingredient | Best application time | Repeat interval |
|---|---|---|---|
| Selective, post-emergence | Halosulfuron-methyl | Active growth phase | 6–8 weeks |
| Non-selective, systemic | Glyphosate | Before the dormant period begins | Usually once |
| Pre-emergence inhibitor | Sulfentrazone | Early spring | Once per season |
Selective products for lawns
Products containing halosulfuron-methyl mainly target nutsedge without destroying the entire lawn. They travel from the leaves into the tubers, weakening the weed from within. Application is best when every shoot has developed several leaves and is growing strongly, generally from late spring to early autumn. A follow-up treatment is often needed after six to eight weeks, as the first application rarely reaches every tuber.
Glyphosate for complete renovation
Those with areas containing almost nothing but nutsedge sometimes opt for the most drastic solution. Non-selective glyphosate-based products kill all green growth, including the lawn. They are suitable where the area is due to be reseeded or entirely redesigned anyway.
Treat the site only once the nutsedge is growing vigorously but has not yet produced seed. Once it has died back, clear away the dead vegetation, loosen the soil and wait around two weeks before creating the new area. This reduces the likelihood of surviving tubers immediately sending up new growth.
Preventive soil treatments
Herbicides containing sulfentrazone work preventively. They stop seedlings in the upper soil layer, but have little effect on tubers already present. They are therefore best used as a supplementary measure, for example after successful main treatment or in areas where nutsedge has so far appeared only sporadically.
Prevention: remove the conditions nutsedge needs
A dense lawn rather than bare gaps
A healthy, thick lawn leaves less room for nutsedge to establish itself. Cutting grass too short on a regular basis, by contrast, creates ideal starting points for weeds. The rule of thumb is never to remove more than one third of the blade length at a time. A slightly higher mowing height shades the soil, making germination more difficult and giving nutsedge less chance to take hold.
Manage watering correctly
Nutsedge thrives in wet, poorly drained areas. Permanently soggy patches in the garden should be treated as a warning sign. Useful measures include:
- watering less frequently but deeply, rather than giving a light spray every day;
- aerating compacted lawn areas;
- installing drainage solutions, such as drainage pipes or gravel trenches in troublesome areas.
Adjusting irrigation strengthens the lawn while significantly reducing the conditions that favour nutsedge.
Soil testing and fertilising
Many home gardeners fertilise by instinct. Having a soil test every few years is more useful, as it reveals both the pH level and nutrient status. Fertiliser can then be matched to the grass type. Balanced nutrient applications encourage strong roots and dense turf. Excessive nitrogen, while producing plenty of green growth, can also stimulate a range of weeds.
Mulch layers in beds
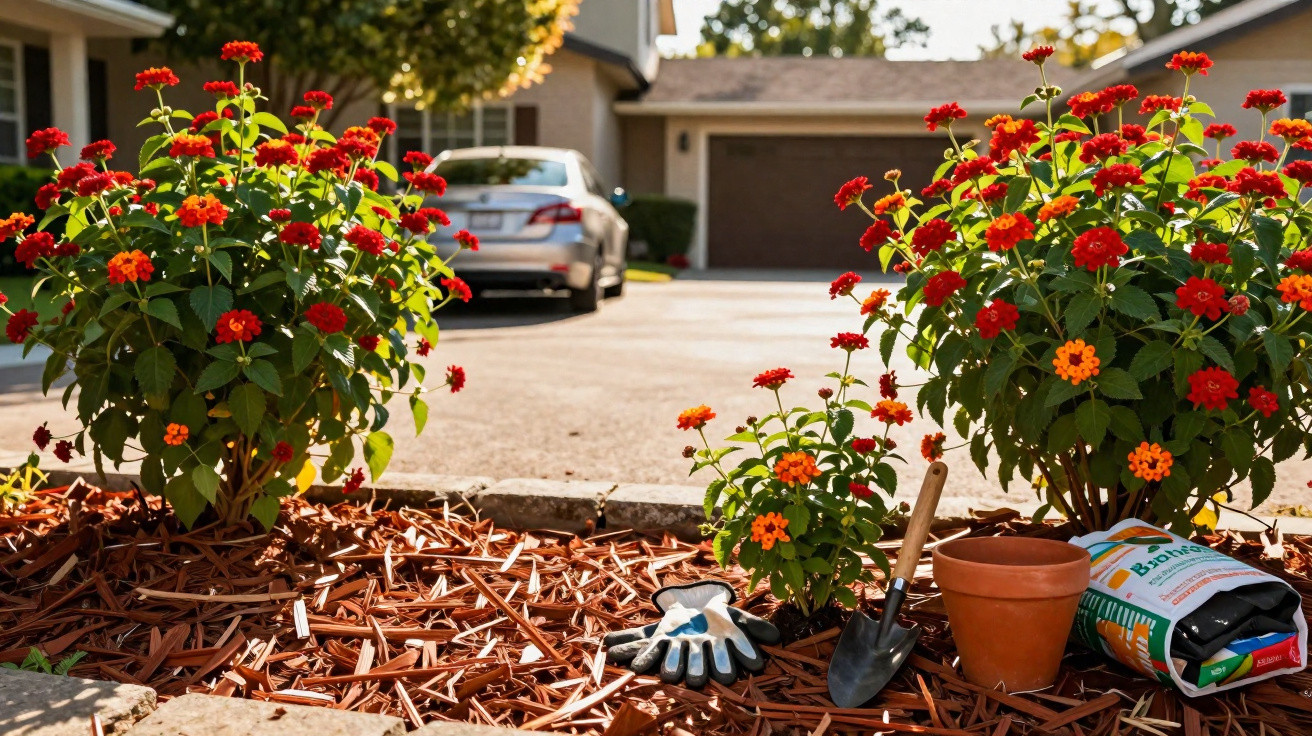
In perennial and shrub beds, a continuous mulch layer acts as a natural protective barrier. Three to four centimetres of bark mulch, woodchip or other organic material suppresses seedlings and keeps moisture levels in the soil more even. Where nutsedge has already appeared repeatedly, a weed-control membrane or fleece beneath the mulch is worthwhile, particularly in vegetable beds that are used regularly.
Why nutsedge is so persistent – and what this means for control
The reason for its persistence lies in its tubers. They store nutrients like small batteries. When the upper part is cut off, the plant simply uses those reserves to grow again. Any measure affecting only the growth above ground is therefore incomplete. Long-term success requires targeting these energy stores or gradually using them up, whether through digging, repeated disturbance or systemic products.
Timing also matters greatly: anyone who spots individual nutsedge patches early in the year and acts straight away can avoid years of frustration. Extra vigilance is particularly worthwhile in newly created gardens, on freshly imported soil or in frequently watered areas. Removing an established field of tubers is far more labour-intensive than dealing promptly with the first one or two plants.






Comments
No comments yet. Be the first to comment!
Leave a Comment