Those who respond correctly will secure a magnificent display of flowers for next year.
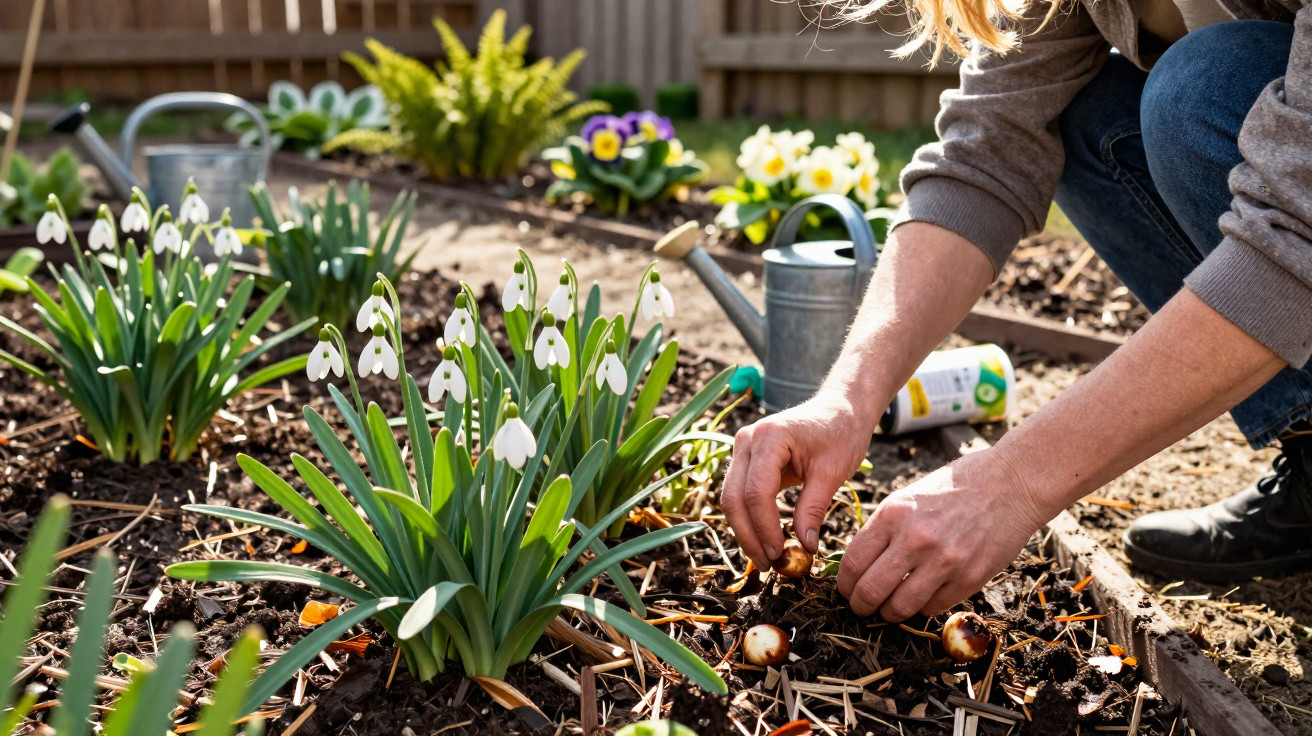
Snowdrops are among the first splashes of colour after winter and, for many amateur gardeners, are a small spring ritual. Yet as soon as the flowers have faded, the question arises: cut them back, feed them, move them – or simply leave them alone? Anyone who acts without a plan at this point weakens the bulbs; those who take the right approach will enjoy more flowers year after year.
Leave the leaves: why the “mess” in the border is essential
Once flowering has finished, snowdrops can soon look rather untidy. The white flower heads have gone, the green leaves flop over, turn yellow and get in the way. Many people instinctively reach for the scissors. That is precisely the classic mistake.
“As long as the leaves are green, they act like small solar panels for the bulb – every cut deprives the plant of energy for the following year.”
The leaves carry out photosynthesis, allowing the bulb to replenish its energy reserves. This process generally takes six to eight weeks after flowering has ended. Only when the foliage yellows naturally and becomes soft has the plant built up sufficient reserves.
Anyone who shortens the greenery early for appearance’s sake during this period risks noticeably fewer and smaller flowers in the next season. The bulb effectively “starves” in the soil, even if it still appears intact on the outside.
Keeping the border attractive while the foliage fades
Partly dried-out snowdrop foliage is not especially attractive, of course. Rather than cutting it away, you can cleverly conceal it:
- Plant companion perennials: Hostas, ferns or cranesbills grow taller later in the season and cover the yellowing leaves.
- Use ground cover: Sweet woodruff, periwinkle or epimedium fill the gaps and create a calmer overall look.
- Emphasise border edges: Low-growing perennials or edging stones draw the eye away from the “mess” in the middle.
Allow the snowdrop foliage to wither and die back completely undisturbed. You can remove the remains only when they are dry and almost fall away on their own.
Watering snowdrops properly after flowering: moisture yes, waterlogging no
While the leaves remain green, the bulbs need consistently moist soil. Especially in dry springs, rainfall is often insufficient.
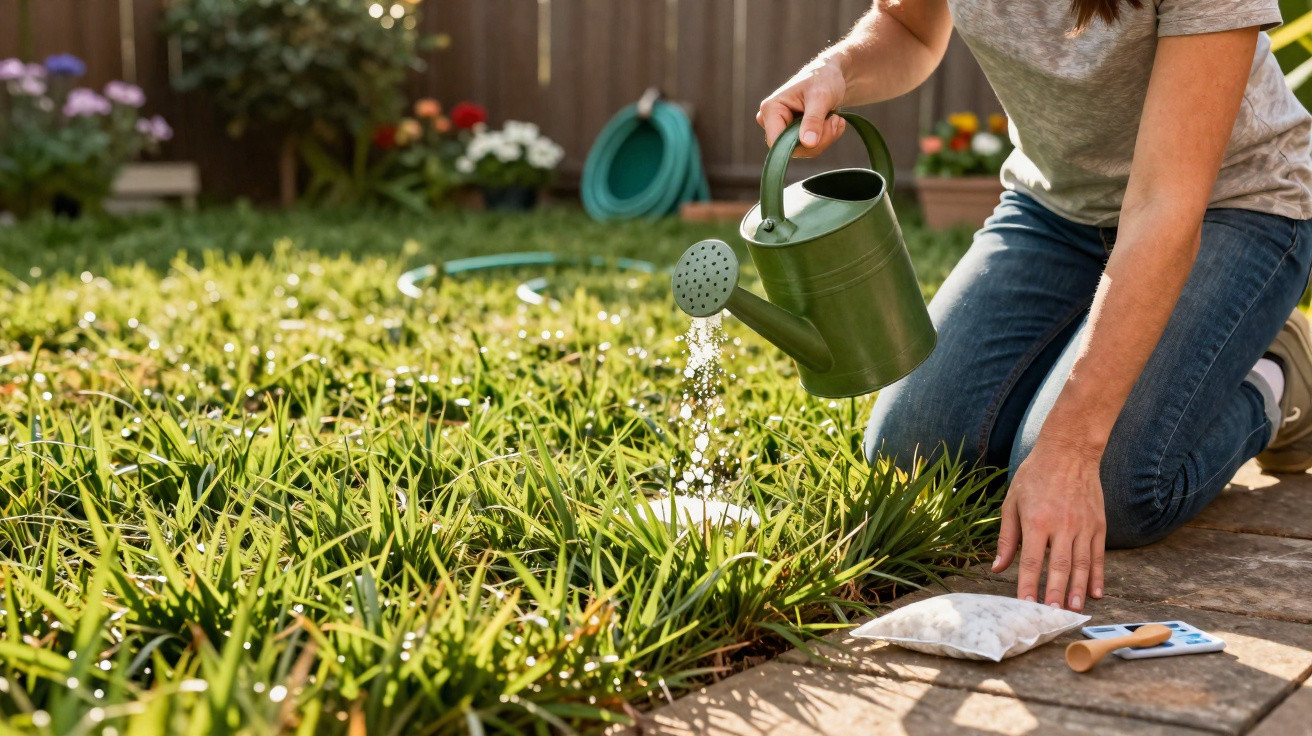
Water moderately at intervals so that the soil stays lightly moist without becoming sodden. Too much water quickly encourages fungal issues and bulb rot.
“The rule of thumb: soil should be lightly moist, but never muddy. Do a finger test: if the soil feels cool and damp but not sticky, it is right.”
This careful approach to watering benefits more than just snowdrops. Gardeners who manage watering properly in spring often find that the entire garden remains more resilient throughout the year.
Feeding for strong bulbs and more flowers
The best time to fertilise is immediately after flowering, while the foliage is still fresh and active. At this stage, the plant absorbs nutrients particularly effectively.
Which fertiliser suits snowdrops?
A dedicated bulb fertiliser or flower-bulb fertiliser that is low in nitrogen and high in potassium is ideal. The reason is straightforward:
- Low nitrogen: otherwise, only leaves grow while the bulb remains weak.
- High potassium: strengthens roots, bulb structure and resistance to disease.
A simple feeding plan can look like this:
- Fertilise once as soon as the last flowers have dried up.
- Water thoroughly afterwards so that the nutrients reach the root zone.
- For very weak clumps, apply another light feed after around two weeks.
- Stop as soon as the foliage becomes noticeably yellow.
Organic alternatives: gentle but sustainable
Those who prefer not to use mineral fertilisers can choose bone meal, horn meal or mature compost. A thin layer around the clumps is often enough.
“Organic fertilisers act more slowly, but they improve soil structure over the long term – and therefore the bulb’s ‘living room’.”
Important: do not hoe too deeply or use sharp tools directly around the clumps. Snowdrops sit relatively close to the surface, and their delicate roots are easily damaged.
Dividing and moving snowdrops: when they need a new home
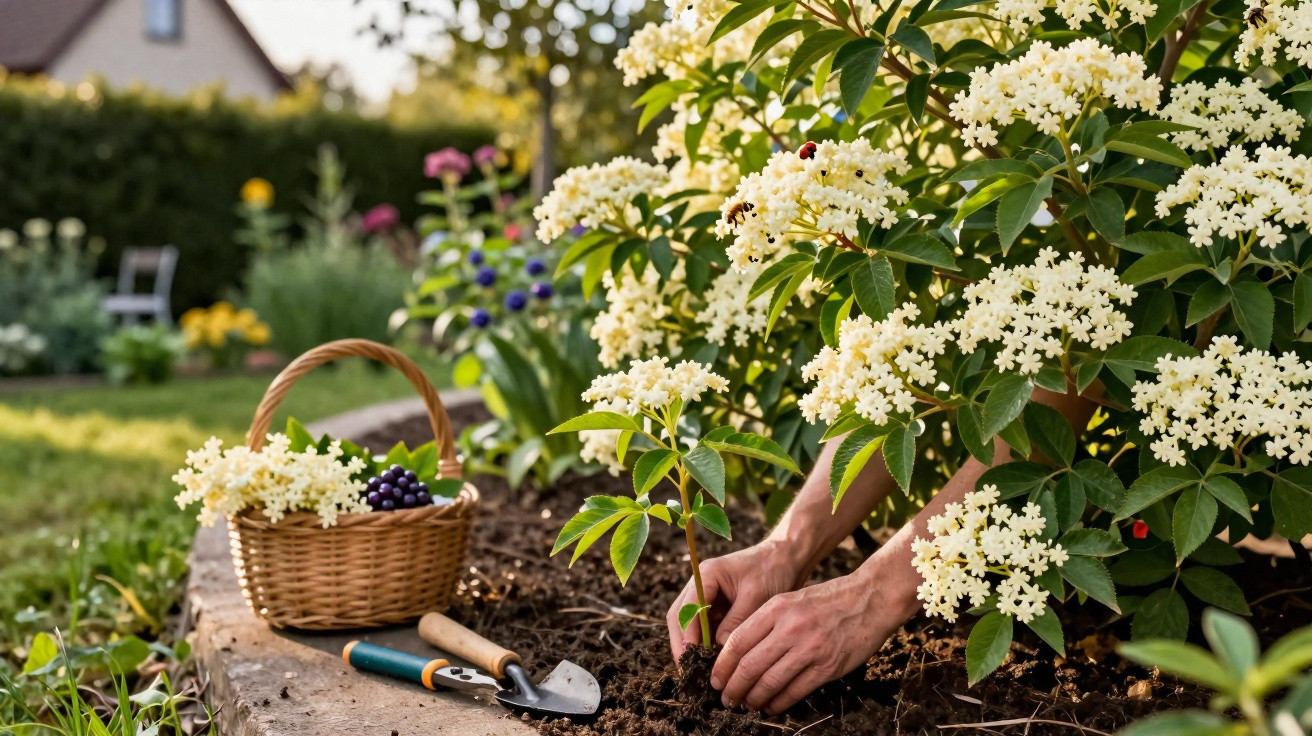
When young snowdrop plants are growing tightly packed together and flower numbers begin to decline, it is time to divide them. This rejuvenates the planting and provides material for new areas of the garden.
Best timing: “in the green” rather than as dry bulbs
The ideal time is immediately after flowering, while the leaves are still green. Gardeners call this planting “in the green”. At this stage, the plants quickly form new roots in their new position before entering their summer dormant period.
| Step | Action | What to watch for |
|---|---|---|
| 1 | Carefully lift the clump with a garden fork | Insert the fork from the side to avoid damaging the bulbs |
| 2 | Gently separate the bulbs into small groups | Leave the roots attached as completely as possible |
| 3 | Replant immediately in the new spot | Maintain the same planting depth as before |
| 4 | Water in | Settle the soil well around the roots |
Leave around 8 to 10 centimetres between newly planted bulb groups. This provides enough room for natural multiplication without the clumps becoming overcrowded too quickly.
“Anyone who moves snowdrops while they are still green rather than as dry summer bulbs will achieve considerably better establishment rates.”
Border care after die-back: tidying without disturbing bulbs
As soon as the foliage has died back completely, the area can look bare. This is then a good time for a brief maintenance session:
- Carefully clear away and compost dried remains.
- Mark the location with small labels or plant markers.
- Loosen the surface with your fingers or a hand hoe, but do not dig deeply.
Many amateur gardeners forget exactly where the bulbs are during summer and accidentally pull up large sections of their snowdrop colonies when planting summer flowers or perennials. Subtle markers reliably prevent this mishap.
Mulch: a protective layer used sparingly
In summer, a thin layer of mulch keeps the soil cool and moist while suppressing weeds. Suitable materials include:
- Leaf mould
- Finely screened bark mulch
- Straw or shredded garden waste
The layer should be 2 to 3 centimetres deep. Mulch that is too thick and heavy can slow down or even smother the delicate shoots in late winter as they push upwards.
Which companion plants complement snowdrops particularly well
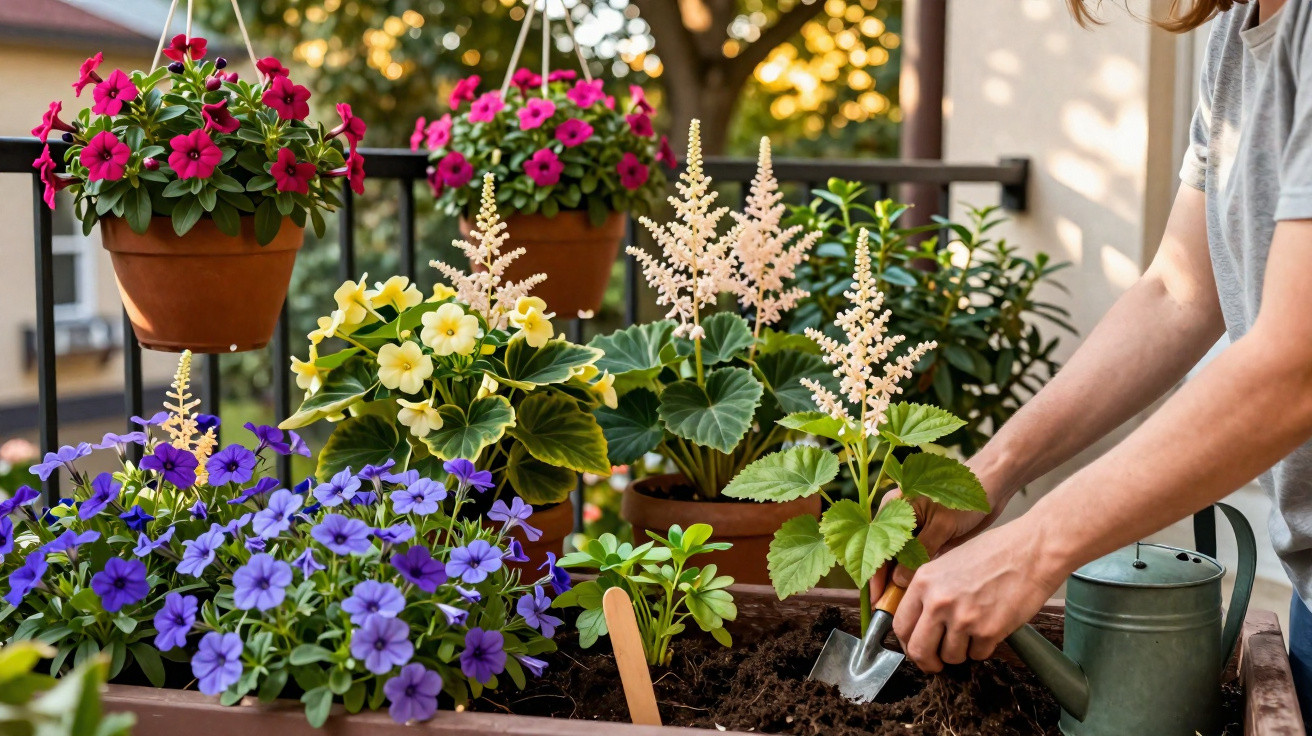
Snowdrops thrive in partial shade to shade, in humus-rich soil that remains evenly moist – the classic conditions of a woodland edge. Choosing companion plants with similar needs creates a relaxed, low-maintenance planting scheme.
Suitable partners include:
- Early bulb flowers such as winter aconites, crocuses or spring snowflakes, for a dense spring display.
- Woodland perennials such as hostas, ferns and coral bells, which take over the border later in the season.
- Shrubs that cast light shade, including witch hazel, Cornelian cherry or early-flowering ornamental cherries.
“The more skilfully the planting is layered, the more seamless the border appears – from the first snowdrop in February to the autumn leaves in October.”
Common mistakes – and how to avoid them easily
Even experienced gardeners repeatedly fall into the same traps. Typical problems after snowdrop flowering include:
- Cutting the foliage back too early – leading to weak bulbs and few flowers the following year.
- Dry soil in spring – preventing plants from building up enough reserves.
- Severe waterlogging – causing rot that destroys entire clumps.
- Rough soil cultivation in summer – bulbs are chopped up or allowed to dry out.
Keeping these points in mind lays the foundation for a few purchased bulbs to become impressive drifts over the years.
How snowdrops multiply – and why patience pays off
Snowdrops spread in two ways: by bulb division and by seed. Seed propagation takes several years before the first flowers appear, but it happens almost unnoticed when ants distribute the seeds around the garden.
Dividing large clumps every few years is much quicker. By repeatedly planting out small groups, you can gradually establish these delicate early flowers across whole sections of the garden. In particular, older gardens with mature trees can develop atmospheric spring scenes that return every year with very little effort.
Anyone starting with snowdrops should therefore consider from the outset how the plants might look in five or ten years’ time. Thoughtful care after flowering is the key to turning an initial small row along the garden path into a continuous white curtain that finally drives winter away.







Comments
No comments yet. Be the first to comment!
Leave a Comment