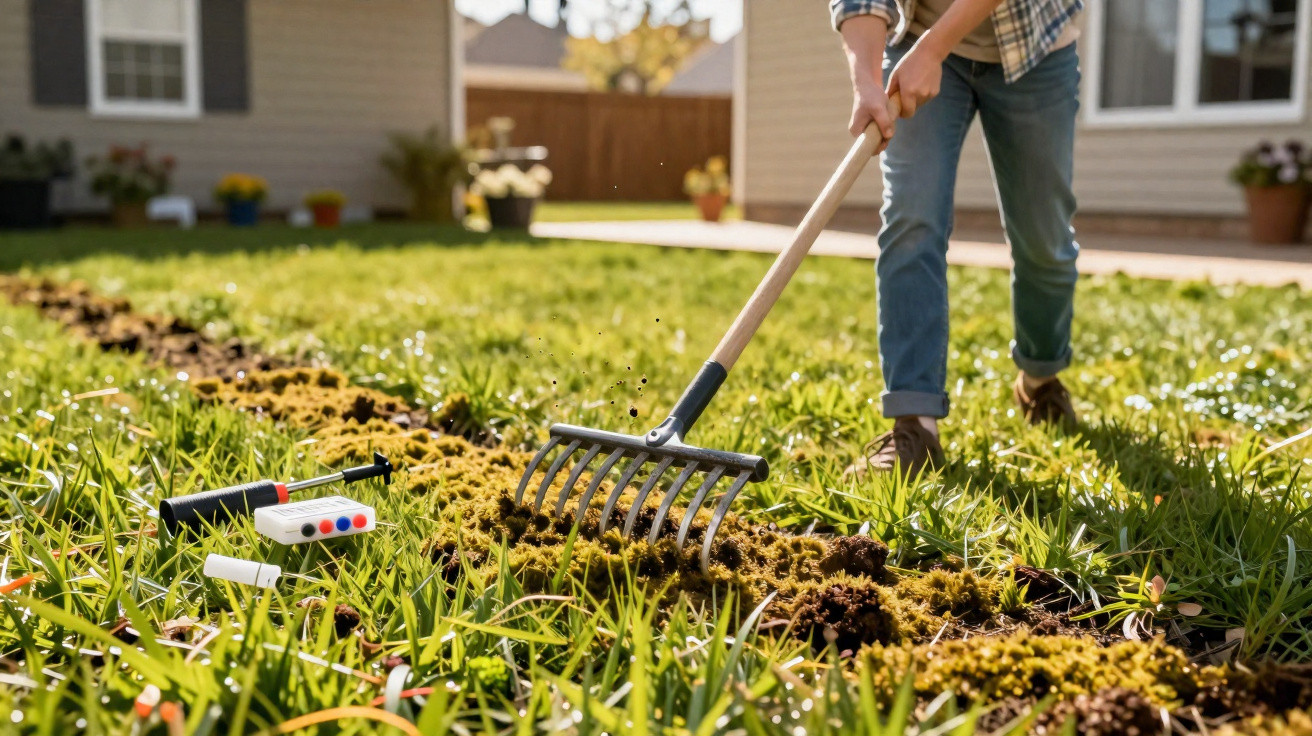
Many amateur gardeners instinctively reach for expensive equipment or supposed “miracle cures”. That is rarely necessary. If you understand why moss appears in the first place and use two traditional hand tools properly, you can gradually turn your lawn into a thick, hard-wearing carpet – without harsh chemicals or high-tech machinery.
Why moss suddenly appears throughout the lawn in spring
Moss does not show up by chance. It consistently takes advantage of every weakness in the lawn. Whenever grass becomes thin, moss moves in.
The most common causes are easy to identify:
- persistent shade, such as beneath trees or beside house walls
- waterlogging after rain because the soil is too compacted
- highly acidic soil, where lawn grasses struggle to thrive
- mowing too low and too often
- heavy foot traffic that compacts the ground
The contrast is especially striking in late winter and early spring. The lawn is only just starting to grow again, while moss is already active. Acting wisely at this point can set the course for the entire gardening year.
Moss is not “evil weed”; it is a sign that the soil and lawn need better conditions.
Many experts recommend waiting until temperatures are reasonably stable before beginning targeted work. The grass needs warmth to recover quickly after treatment and fill bare patches again. During cold days in March, patience is more worthwhile than rushing into action.
The two tools that can transform almost any mossy lawn
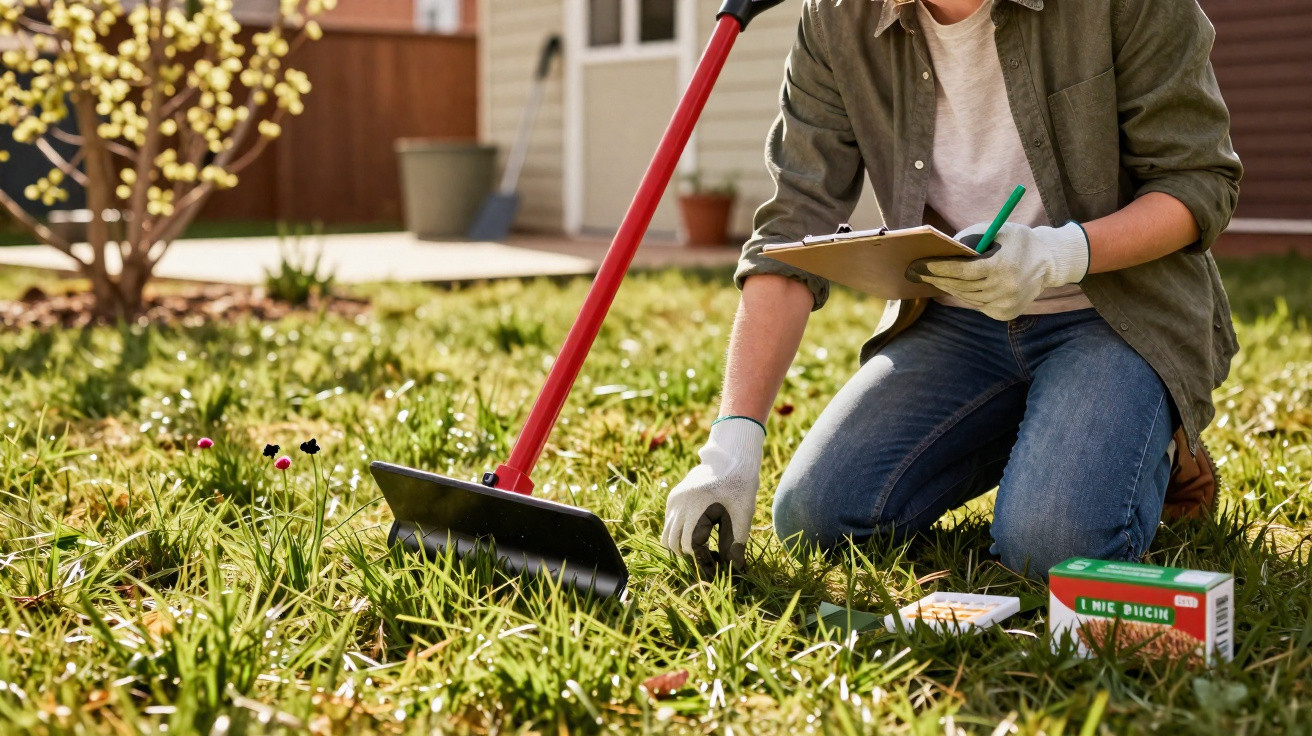
Rather than using a powered scarifier or specialist machines, two straightforward tools are often enough in a domestic garden:
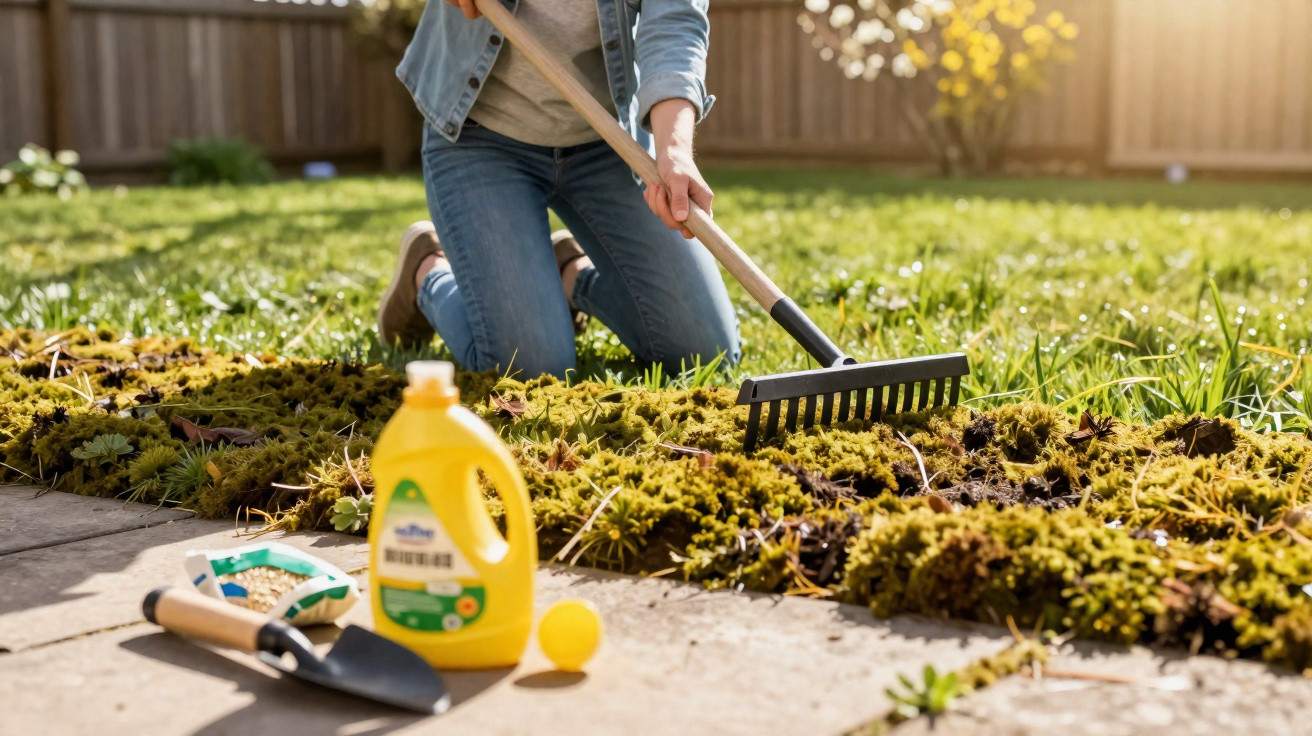
- a lawn rake or scarifying rake (a spring-tine rake) for pulling out moss and thatch
- a lawn aerator – such as a garden fork or a roller with hollow or solid spikes – to aerate and loosen the soil
The two tools work together. The rake treats the surface, while the aerator addresses the layer beneath it.
What a lawn rake actually does
Use a scarifying rake over the lawn with short, firm strokes. Its tines loosen:
- moss cushions
- old, dead grass blades
- matted organic debris
This restores space for light and air directly around the grass crown. Rather than battling through a dense layer of thatch, the grass can produce fresh shoots.
Anyone raking thoroughly for the first time is often surprised by how much material comes up. That is entirely normal – and even a positive sign, as it shows that the lawn has been covered over for some time.
Why the aerator is the unsung hero
The second tool, the aerator, is just as important. It makes small holes in the ground and, depending on the model, may even cut or remove small plugs of soil.
It has three key effects:
- water drains away more effectively instead of sitting on the surface
- air reaches the grass roots, allowing micro-organisms to become more active
- roots grow deeper and create a denser network
Well-aerated soil makes life difficult for moss while strengthening the lawn from the ground up.
For a small garden, a sturdy garden fork is sufficient: push it into the soil at regular intervals, gently rock it forwards and backwards, and the job is done. A spiked roller is worthwhile for larger areas.
The ideal annual plan for a “strong and healthy” lawn
A more structured approach to lawn care delivers visible progress sooner. A practical spring-centred routine could look like this:
| Stage | Action | Aim |
|---|---|---|
| Early spring | Mow at a higher setting and remove larger twigs and leaves | Stimulate the lawn and allow light to reach the grass crowns |
| Mid-March to early April | Remove moss with a rake, while waiting for suitable temperatures | Reduce moss cushions and loosen thatch |
| Immediately afterwards | Loosen the soil with an aerator, making holes in the ground | Improve aeration and reduce waterlogging |
| Afterwards | Overseed, apply organic fertiliser and mow to 4–5 cm | Fill gaps and strengthen the grass |
| Autumn | Lightly repeat raking and aerating | Keep the lawn winter-ready and able to compete |
Many gardeners add an iron-based moss treatment, which turns the moss plants black within a few days. These combination products containing iron and nutrients are regarded as fertilisers for home use rather than conventional pesticides – unlike synthetic total herbicides, which have long been banned.
Timing matters here: apply fertiliser or moss treatment first, then wait one to two weeks to allow the active ingredient to work. Afterwards, rake out the dead moss thoroughly.
Common mistakes that practically invite moss
The same problems recur in gardens year after year. Recognising them can save a great deal of frustration:
- Mowing too low: A bowling-green finish is usually damaging in a domestic garden. A cutting height of around 4–5 cm is ideal.
- Permanently damp areas: Watering every day, even when the ground is still wet, encourages moss rather than grass.
- Compacted soil: Children, dogs and garden parties are all enjoyable, but they compact the lawn. Aeration counteracts this.
- Never overseeding: Bare areas left by disease, molehills or building work remain open, giving moss an opportunity.
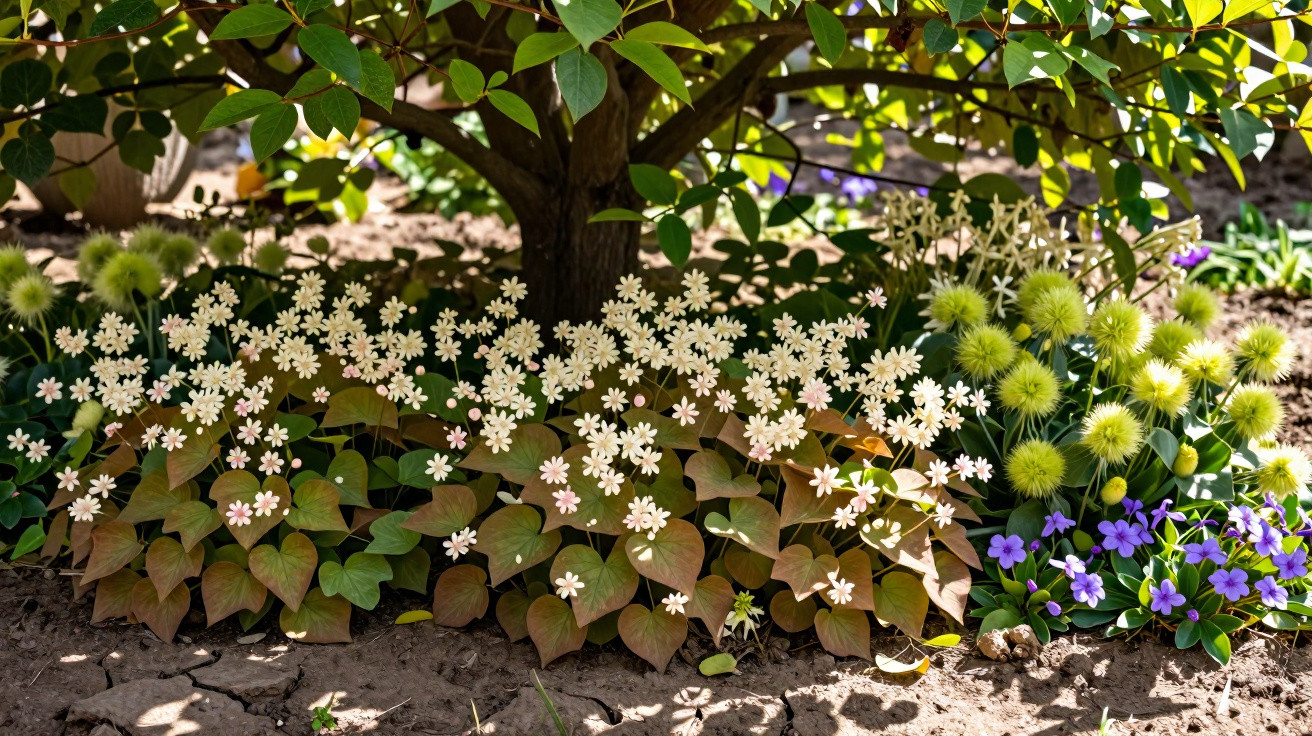
- Ignoring shaded problem areas: Conventional lawn grass often grows poorly beneath trees. Specialist shade-tolerant seed mixes or alternative planting are better suited to these locations.
The lawn can only overcome moss when it becomes denser and stronger than its fine cushion.
How to make the two lawn tools part of your routine
Using a rake and aerator only once a year will produce an effect, but it fades more quickly than many people expect. A routine tailored to your garden is more effective.
Small lawns: ten minutes that can make a real difference
In a typical terraced-house garden, short sessions are often enough:
- in spring: spend one afternoon raking and aerating thoroughly
- in summer: inspect problem spots briefly every few weeks
- in autumn: repeat the process more lightly, especially where grass has suffered during summer
Keeping up this routine prevents moss from spreading across the lawn again. Instead, it remains in small patches that can be dealt with quickly.
Larger gardens: work in zones rather than chasing perfection
For extensive lawns, it helps to think in zones. Not every corner needs to resemble a football pitch. Give priority to:
- play and relaxation areas for children and family
- prominent spaces immediately beside the house or patio
- problem zones with continual shade or waterlogging
At the edges, moss can also be tolerated to some extent and allowed to merge deliberately into a natural meadow. This reduces maintenance and supports insects.
What terms such as “lawn scarifier” and “aeration” mean
Many guides use English or technical terms that are not especially clear in everyday gardening. Two central concepts can be explained simply:
- Scarifying: lightly cutting into the grass surface and combing out moss and thatch to “clean” the top layer.
- Aerating: perforating the soil so that air, water and nutrients can penetrate more deeply.
The two processes complement one another: first the surface is cleared, then the soil below becomes more permeable. This combination explains why a rake and aerator are so effective despite their simplicity.
What happens if you do nothing – and if you stay consistent
Those who simply accept moss often see a gradual decline: a little more grass disappears each year and the green cushions spread further. The lawn feels softer, stays wet for longer and becomes even more vulnerable during frost or dry spells.
The alternative is to use the rake and aerator regularly. Over time, the balance shifts slowly but noticeably. Grass takes advantage of the improved conditions, produces more side shoots and root growth, and fills gaps faster. Moss has fewer and fewer open spaces to occupy.
It is not moss treatment but regular care with simple tools that determines how “strong and healthy” a lawn really looks.
Anyone who commits to this process will often notice after just one season that the work becomes easier year by year. Instead of fighting moss, you create steady progress towards a resilient, dense green lawn – using two tools, a little time and a clear understanding of your own soil’s needs.



Comments
No comments yet. Be the first to comment!
Leave a Comment