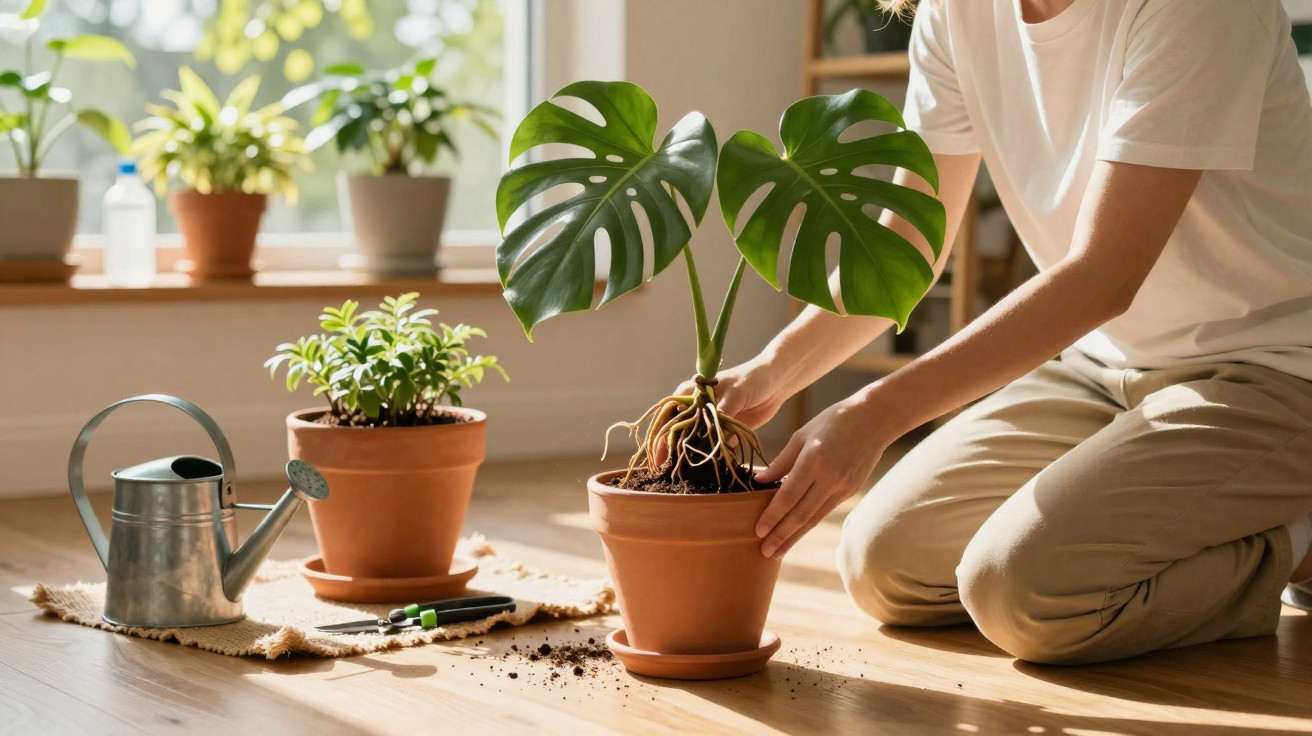
The fashionable plant with its large, perforated leaves often grows more quickly in our living rooms than many people expect. At some point, it will outgrow its pot. If you act too late, or at the wrong time, you risk yellow leaves, waterlogging or even root damage. A few clear signs and simple rules make it easy to judge exactly when your Monstera truly needs a new pot.
How to tell when your Monstera needs a new pot
The plant gives clear signals when its current pot has become too cramped. You simply need to know how to interpret them.
Roots are emerging from the bottom
The most obvious clue can be found at the base of the pot. If pale or brownish roots are growing through the drainage holes, the pot has become too small.
“When roots grow out of the drainage holes or circle the entire base of the pot, the Monstera has definitively outgrown its home.”
Carefully lift the plant from its pot. With a severely root-bound Monstera, you will usually find a dense mass of roots, made up almost entirely of roots with very little compost remaining.
Water runs straight through
Another unmistakable warning sign is when you water as usual, yet the water immediately pours out through the bottom while the compost still remains dry.
- Water is no longer retained properly
- You need to water far more often than before
- The plant looks limp despite being watered
In this situation, the roots have displaced most of the substrate. Hardly any material remains to hold moisture, so the plant is effectively standing “on roots” rather than in compost.
Leaves stay smaller, turn yellow or grow more slowly
Monsteras are naturally vigorous, fast-growing plants. If new leaves suddenly remain small, develop few holes, or the plant grows noticeably more slowly in spring and summer, a lack of space is often the cause.
Typical signs include:
- New leaves are smaller than older ones
- Older leaves turn yellow even though you are providing normal care
- The plant feels unstable and the root ball is pushing the compost upwards
In each of these cases, it is worth inspecting the pot. If the root ball is very compact and heavily rooted, it is time for fresh substrate and more space.
The best time of year to repot a Monstera
Even when the pot is full, the time of year matters greatly. A Monstera copes much better with repotting while it is actively growing.
Spring: the ideal period
March to May is widely regarded as the gold-standard window. Days become longer, temperatures rise and the plant begins producing new growth.
“Anyone who repots their Monstera in spring gives it perfect conditions to form new roots and recover quickly.”
At this stage, the plant directs plenty of energy into growth, responds more flexibly to stress and can compensate for root damage more quickly.
Early summer: possible when urgent
A Monstera can usually still be repotted successfully until around mid-June, especially if the root ball is extremely cramped or already showing problems. Light levels are high and temperatures are stable, both of which help the plant establish itself in its new pot.
High summer, autumn and winter: consider carefully
In high summer, heat can become an issue. The roots are already weakened after repotting, and intense sunshine and high temperatures add further stress. If possible, postpone the task until spring.
From late summer and through autumn, the Monstera slows its growth. Repotting at this time often means the plant simply remains inactive in the new substrate and shows little response. During winter dormancy, you should act only in an emergency, such as root rot or a severe pest infestation.
- Spring: the best time for planned repotting
- Early summer: suitable when there is an urgent need
- Late summer and autumn: only if unavoidable
- Winter: genuine emergencies only; otherwise, wait
How often should you repot a Monstera?
The interval between repotting depends heavily on the plant’s age. Young Monsteras grow considerably faster than mature specimens.
| Age of the Monstera | Recommended frequency | Pot size increase | Main aim |
|---|---|---|---|
| 0–2 years | around once a year | 5–7 cm larger in diameter | support rapid growth |
| 3–5 years | every 18–24 months | 5–10 cm larger | encourage steady development |
| over 5 years | every 2–3 years | a maximum of 5 cm, or fresh compost only | maintain health and stability |
| over 10 years | every 3–4 years | no larger pot required, only replace the substrate | replenish nutrients |
The key point is that the new pot must not be too large. A significantly oversized container retains more water than the roots can absorb. This may lead to waterlogging and rot. A reliable rule of thumb is to increase the diameter by roughly two finger widths.
Step by step: how to repot a Monstera correctly
Preparation: the plant and materials
Water the Monstera thoroughly around one day before repotting. This makes the roots more flexible and easier to release from the old pot.
You will need:
- A new pot with drainage holes
- Loose, airy substrate for tropical houseplants or aroids
- Disinfected scissors or a knife
- Optionally, a support cane or climbing support
Removing it from the old pot
Lay the plant on its side, support the root ball with one hand and gently pull the pot upwards. If everything is very tight, lightly squeeze the rim of the pot or run a knife around the inside edge once.
Where roots are extremely matted, you can make a few vertical cuts into the outside of the root ball using scissors. This encourages the development of new lateral roots.
Inspecting and trimming the roots
This is the moment to inspect them closely. Healthy roots are firm and pale to medium brown. Remove black, mushy or completely dried-out root sections cleanly using a sanitised tool.
“Only a well-aerated root ball free from rot will produce strong, deep-green leaves in the long term.”
Planting properly in the new pot
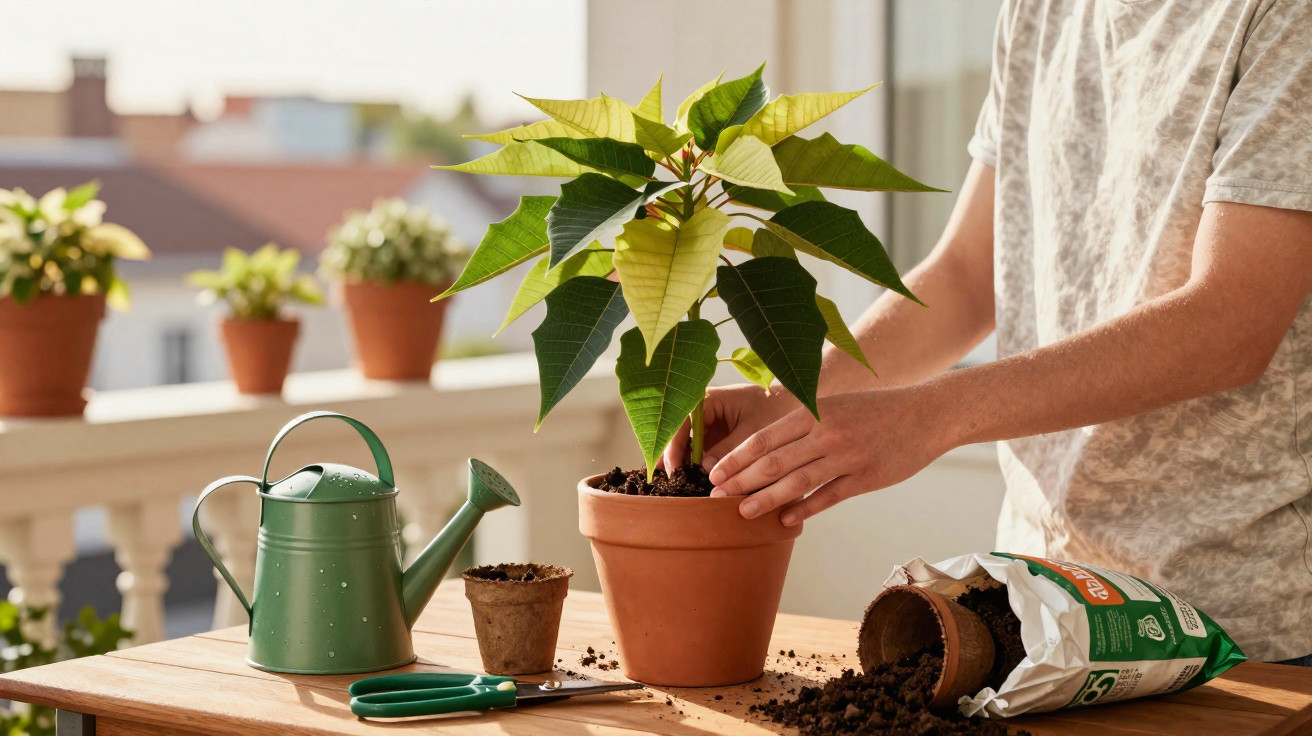
First, place a thin layer of substrate in the new pot. Position the Monstera at the same height as it was previously. Never bury the stem more deeply, as this increases the risk of rot at the base.
Then fill the gaps with substrate and press it down lightly with your fingers, without compacting the compost too firmly. The roots need contact with the substrate, while still receiving sufficient air.
Care after repotting: helping your Monstera recover quickly
Watering correctly and choosing the right position
Water thoroughly immediately after repotting so that the compost and roots settle together and air pockets in the substrate disappear. Afterwards, wait until the upper layer of compost has dried before watering again.
Constantly wet compost at this stage can overwhelm recently disturbed roots and encourage rot.
Place the plant in a bright spot with plenty of indirect light. Strong, direct sunshine should be avoided during the first few weeks. Draughts from windows, radiators or air-conditioning units place further strain on the plant, while steady temperatures of around 18 to 29 °C are ideal.
A pause in growth is normal
After repotting, the Monstera initially focuses on producing roots. New leaves often take two to four weeks to appear. During this period, the plant may look somewhat “paused” - this is normal.
Wait to fertilise until vigorous new leaves or shoots begin to emerge again. Only then, around four to six weeks after repotting, should you gradually restart with a weak dose of nutrients.
Common repotting mistakes and how to avoid them
Many issues arise not from repotting itself, but from small mistakes in the process.
- Pot too large: encourages waterlogging and root rot
- Stem planted too deeply: creates a risk of rot where the root and shoot meet
- Wrong substrate: ordinary potting compost without structure holds too much water and becomes compacted
- Direct sun soon after repotting: causes scorching and additional stress
- Too much water in the first few weeks: the roots cannot keep up
A loose, coarsely structured substrate containing components such as pine bark, broken expanded clay or coarse perlite keeps air around the roots. This ensures the root zone remains well ventilated and makes the plant more resilient to care mistakes.
Why the right timing matters so much
Waiting too long does not merely create a cosmetic issue; it slows down the entire plant. A heavily matted root ball can barely absorb water and nutrients, and the leaves may respond with spots, yellowing or a failure to develop splits.
On the other hand, repotting always causes stress. If a Monstera is repotted in the middle of winter or during a heatwave, it lacks the energy to regenerate its roots quickly. This is often visible in brown leaf tips, drooping shoots or a complete halt in growth lasting several months.
Combining the plant’s signals with the right season will, in most cases, pinpoint the moment when the Monstera responds to a new pot almost “with relief”: deep-green, larger leaves, strong aerial roots and more stable overall growth.



Comments
No comments yet. Be the first to comment!
Leave a Comment