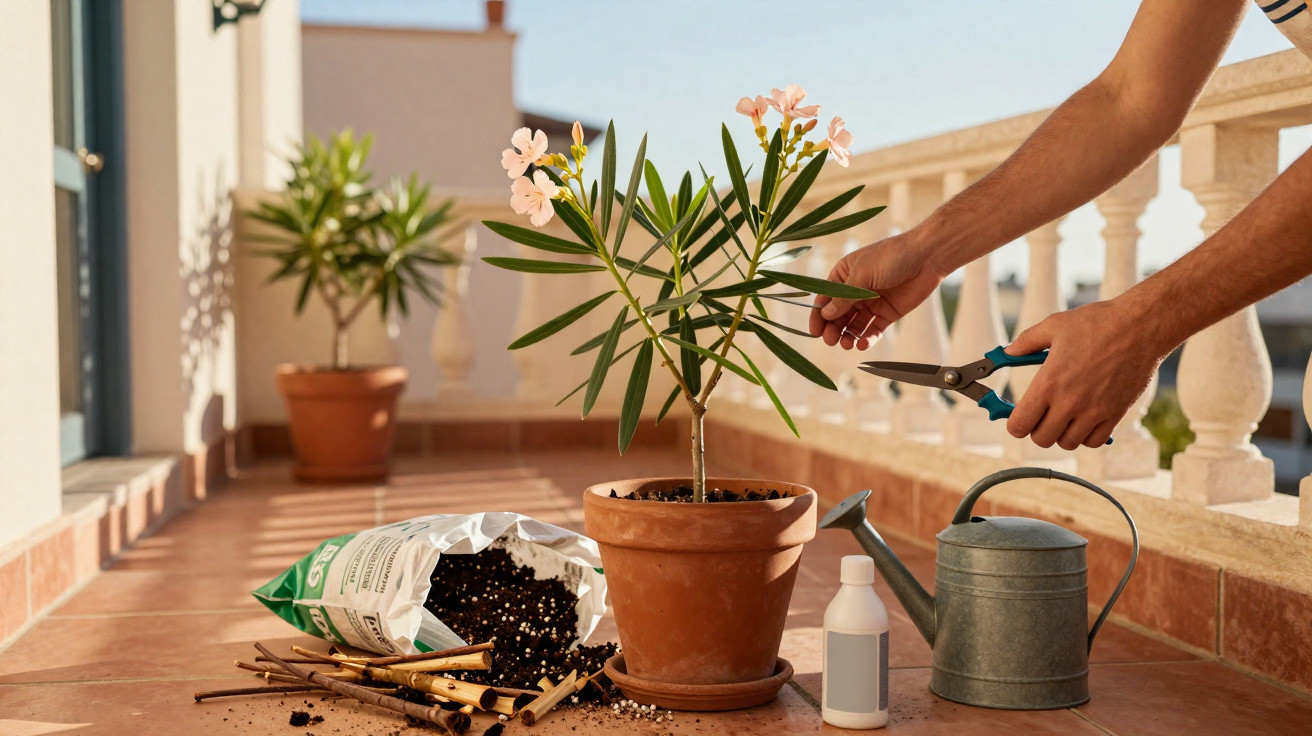
Many amateur gardeners recognise the alarming sight in spring: their oleander sits forlorn in its container or bed, with scorched leaves, brown branches and hardly any foliage left. This is, after all, a plant associated with holidays, sunshine and weeks of flowering. The encouraging news is that, in most cases, the shrub retains enough life to be restored within a few weeks and produce an abundant display of summer flowers.
First check whether the oleander is still alive
Before reaching for the pruners, fertiliser and watering can, assess the plant honestly. Many oleanders look more lifeless than they actually are.
The key test is to gently scratch the bark. If a moist, greenish layer appears beneath it, that shoot is alive. If it is entirely brown and dry, that section has died. Work from the tip of each shoot back towards the main stem in this way.
Pay particular attention to the base of the shrub, which is its most protected area. Small swollen buds or fresh green growth suggest that the oleander is preparing to shoot again.
Living shoots with green beneath the bark and small buds at the base are the best sign: the oleander still has substantial reserves of strength.
The right time to restart growth
Oleander comes from warm climates and is sensitive to late frost. Moving it outdoors too soon can cause further damage.
- Container-grown plants: Wait until night frosts are no longer expected and overnight temperatures are consistently above around 10°C.
- Plants in the ground: Remove protective coverings gradually while keeping an eye on the forecast.
- Areas with harsher winters: Aim for around mid-April; in particularly mild locations, late March may be possible.
Container plants benefit from an acclimatisation period. Place them in partial shade for a few hours each day initially, then gradually move them into full sun. This helps prevent sun scorch on weakened foliage.
Encourage fresh oleander growth with pruning
Once the risk of frost has passed, a firm prune can revive the shrub. The aim is to promote vigorous new wood, since flowers form on young shoots.
Typical pruning measures include:
- Cut entirely blackened or dried-out branches back to healthy, green wood.
- Remove shoots that cross each other or grow inwards, allowing more light to reach the centre.
- Shorten very long, weakened branches by approximately one third to two thirds.
Where a shrub is extremely badly damaged, the only solution may be a hard cutback to about 40 cm in height. Although this can appear drastic, it often prompts strong new growth from the base. Flowering may, however, be less impressive that year.
Clean tools make clean cuts
Sharp, clean secateurs prevent crushed stems and reduce the risk of disease. Cut surfaces should be smooth rather than ragged. A pruning saw may be needed for particularly thick branches.
A fresh pot and open compost: refreshing the roots
Container-grown oleanders in particular can suffer from a lack of space as the years pass. Root balls that are densely packed absorb barely any water or nutrients, but spring is a good time to put this right.
Signs that the pot is overcrowded include:
- Roots emerging from the drainage holes.
- Water immediately running down the sides rather than soaking in.
- A root ball that feels hard and compact, almost like concrete.
In this case, choose a new container that is only slightly larger. Plant the shrub in a free-draining, relatively coarse growing medium, such as:
- good-quality flowering-plant compost,
- mixed with coarse sand or expanded clay,
- with a little well-rotted compost added.
If the existing container is already large and heavy, a partial refresh is often enough. Remove around 5 cm of old compost from the surface, replace it with fresh, nutrient-rich growing medium, then fertilise with purpose.
Fertilising: no cloud of flowers without potassium
Oleander is a hungry plant. After a winter with little light and usually limited nutrients, the shrub needs its reserves replenished.
From March to September, regular potassium-rich fertiliser supports sturdy shoots and plentiful flower production.
A practical feeding routine for container plants is:
- add liquid fertiliser to the watering water every one to two weeks, or
- use a slow-release fertiliser spike at the beginning of the season, adding more later if necessary.
Important: the compost must not be bone dry when fertilising. Heavy nutrient applications to dry growing medium can scorch the roots. Water lightly first, then apply the fertiliser.
Water properly: avoiding both waterlogging and drought
A weakened oleander needs water, but it must be given in the right amount. Both overwatering and underwatering can cause stress.
Watering rules for container-grown oleander
- Let the top layer of compost dry slightly between waterings.
- Water slowly and directly around the root area, keeping the foliage as dry as possible.
- Empty the saucer after a few minutes so that water does not remain standing in it.
For oleanders planted in the ground, let the weather guide you. During hot summer weeks, two thorough waterings each week are usually sensible. Loose, well-drained soil prevents the roots from sitting permanently in wet conditions. A thin layer of mulch can help retain moisture for longer and buffer temperature fluctuations.
Light and position determine the summer display
Oleander needs plenty of light to flower truly impressively. A partially shaded spot almost always results in a disappointing number of blooms.
An ideal location is:
- one with several hours of direct sunshine each day,
- preferably in front of a warm south- or south-west-facing wall,
- sheltered from cold winds.
After winter storage, do not move the plant abruptly from a dim garage into intense midday sun. Otherwise, its already weakened leaves may burn. Gradual acclimatisation over several days acts like a gentle training programme for the plant.
Common mistakes that can stop flowering completely
Much oleander damage is caused by people. Avoiding these pitfalls greatly improves the chance of months filled with blooms.
- Moving the plant outdoors too early and exposing it to late-frost damage.
- Shifting it straight from a sheltered veranda into blazing sunshine without an adjustment period.
- Keeping the compost permanently wet through fear of it drying out.
- Applying high doses of fertiliser to a dried-out root ball.
- Leaving water permanently standing in the saucer.
Anyone who manages light, water and nutrients properly, while avoiding major care errors, can turn even a severely damaged oleander back into a dense ball of flowers.
A poisonous plant with holiday appeal: what many people do not know
For all the appeal of its flowers, one point must never be overlooked: oleander is highly poisonous. Every part of the plant contains substances that can harm health even in small quantities.
Practical everyday precautions include:
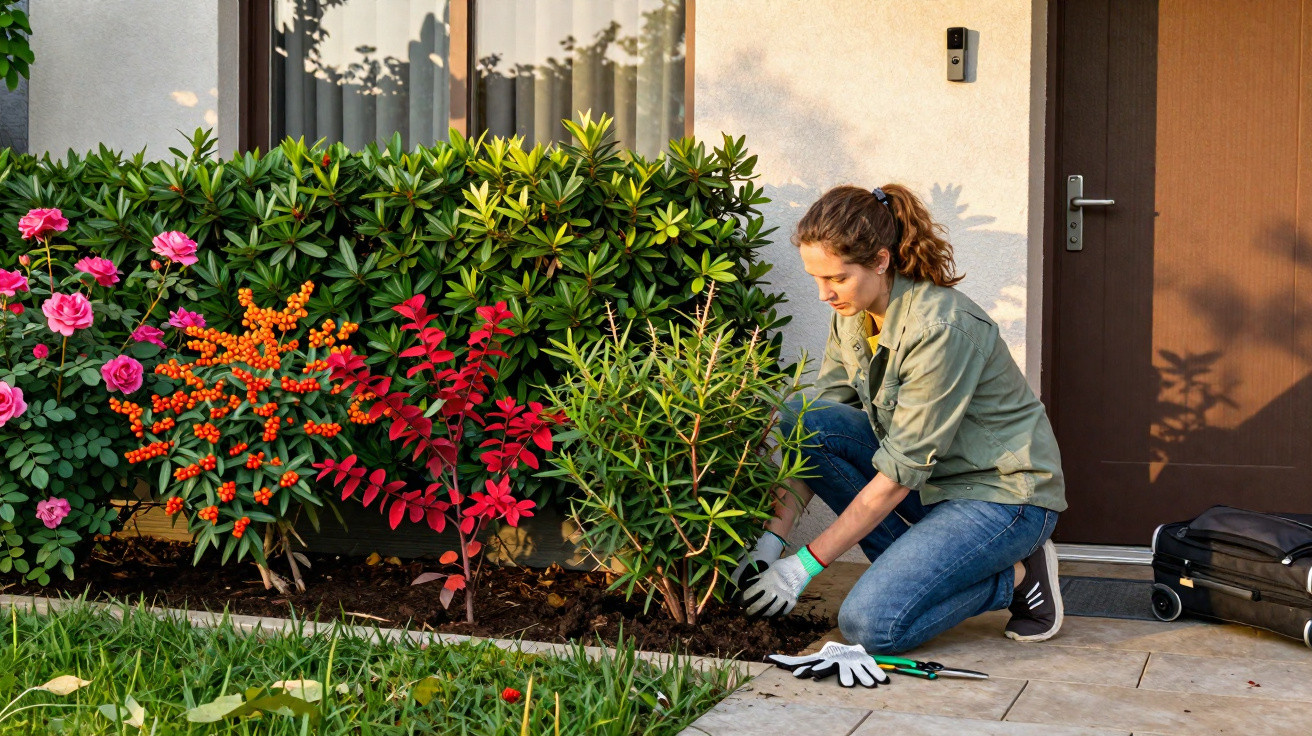
- Wear gloves when pruning, then wash your hands thoroughly afterwards.
- Do not put prunings on the compost heap; dispose of them separately with general waste.
- Do not allow children or pets to chew leaves or branches.
Despite these risks, the shrub remains one of the most rewarding flowering plants for balconies and patios. With warmth, light, regular pruning and a well-planned care routine, it rewards gardeners with masses of flowers for years-even when it initially seems hopelessly lost after a harsh winter.



Comments
No comments yet. Be the first to comment!
Leave a Comment