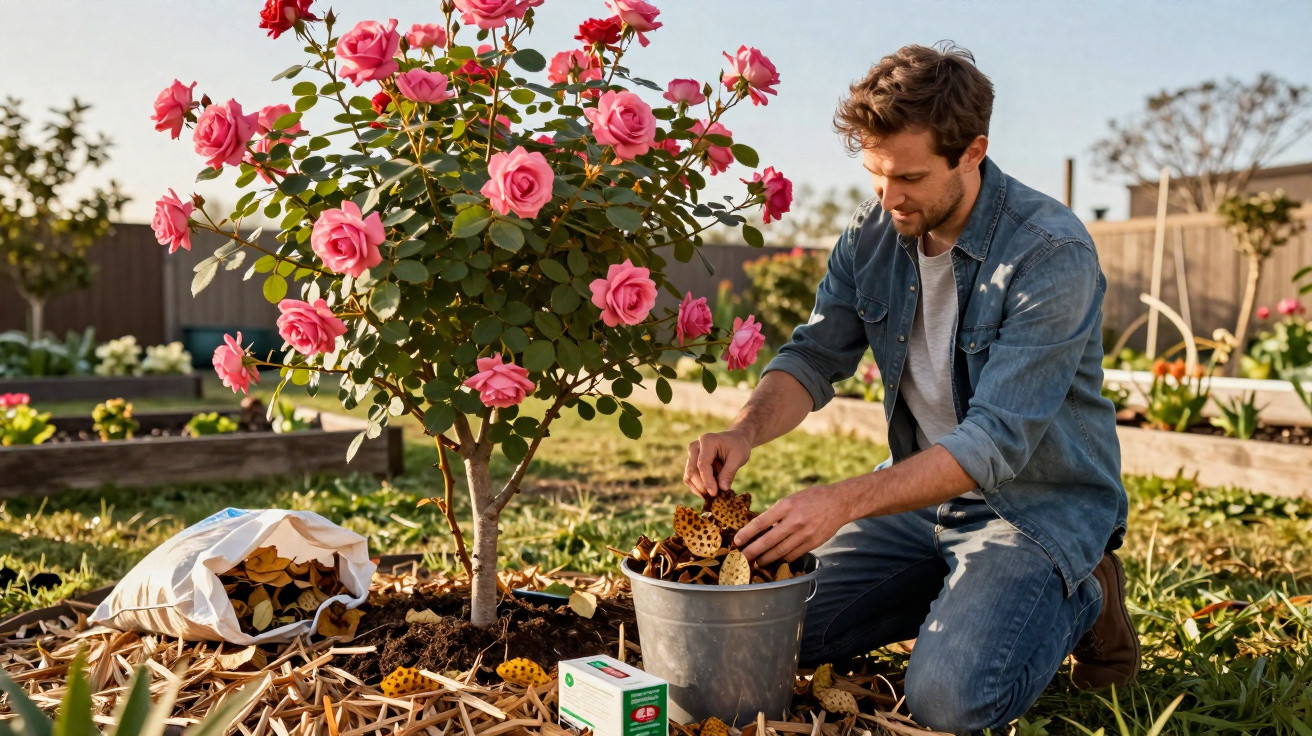
Every year brings the same sight: by June or July, some roses are covered in yellowing, spotted leaves, begin shedding their foliage and produce only a few feeble blooms. Many amateur gardeners blame drought or a “poor variety”, but the cause is usually an old foe: the dreaded black spot disease. The key is not summer treatment, but the jobs carried out in March – taking targeted action now breaks the fungus’s cycle and avoids months of frustration.
Why roses so often suffer from black spot disease
Black spot disease is caused by a fungus known, among other names, as Diplocarpon rosae or Marssonina rosae. It attacks roses only and can weaken them severely, although it rarely kills them outright.
Typical symptoms include:
- dark, irregular blotches on leaves, often surrounded by a yellow halo
- leaves dropping prematurely, beginning low down and progressing upwards
- fewer blooms, with flowers becoming smaller
- generally weaker growth and greater susceptibility to drought and pests
Rather than surviving the winter in the air, the fungus remains directly in the rose bed: on dead leaves, small twigs and plant debris around the shrubs. In spring, rain and wind spread its spores. It multiplies especially quickly at temperatures of roughly 13 to 30 °C when leaves stay wet for hours at a time.
“Removing the fungus’s winter shelters consistently in March takes away its runway for the summer.”
This is precisely where the three crucial March jobs come in: clean, protect and strengthen.
First March job: clear thoroughly beneath the roses
The most important measure requires no specialist products at all: tidying up. It simply needs to be done more thoroughly than many people are used to.
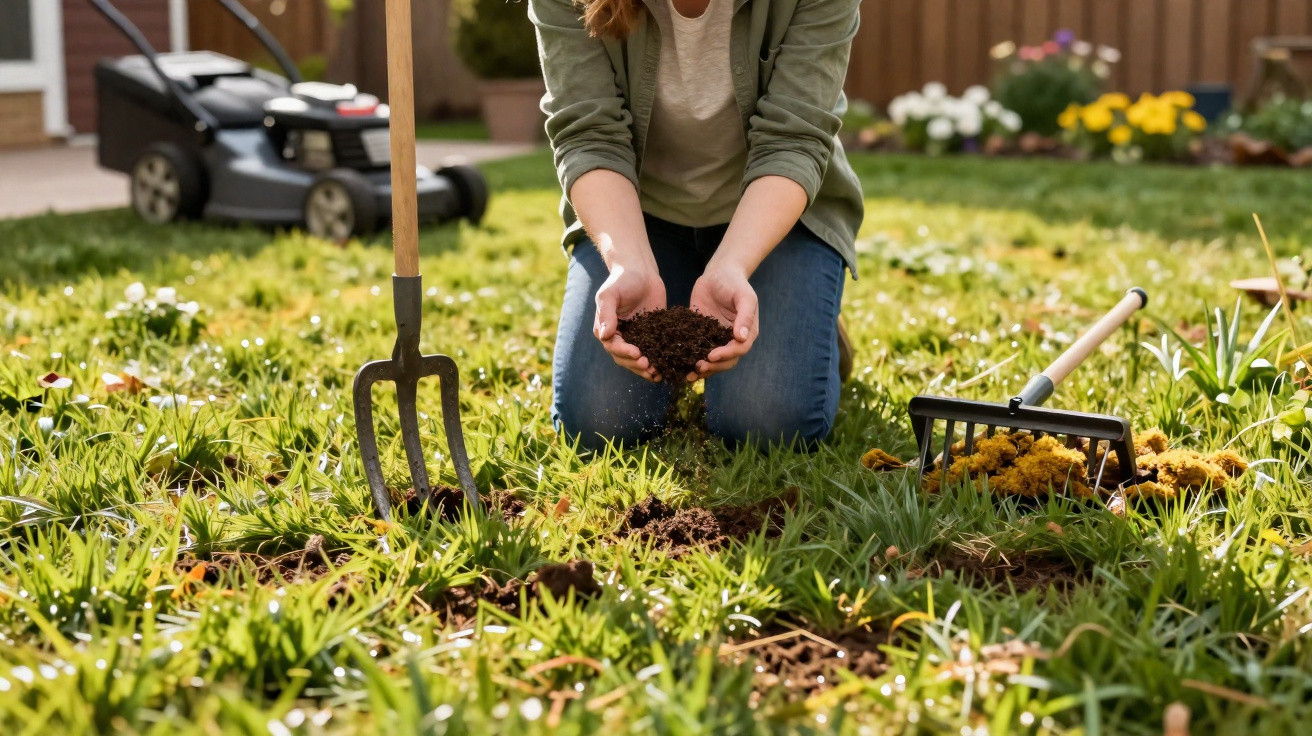
Remove all leaves and pruning debris
As soon as the soil has dried out reasonably well in March, inspect beneath every rose carefully. Leaves from the previous year, small twigs and old flower remains are often still lying there. This is exactly where the fungus overwinters.
Work methodically:
- Collect old leaves from around the root area, including those caught deep between the stems.
- Pick up and dispose of small dead shoots from the ground.
- Carefully pull out any leaves trapped within the centre of the shrub.
Important: this material must not go onto the compost heap. Spores may survive there and later find their way back into the bed. Put it in general waste instead, or take it to a local green-waste collection point if the material is heat-treated.
“Anything that looked diseased last year must be removed from the garden without compromise – otherwise the fungus begins the season with a head start.”
Second job: protect rose soil with mulch
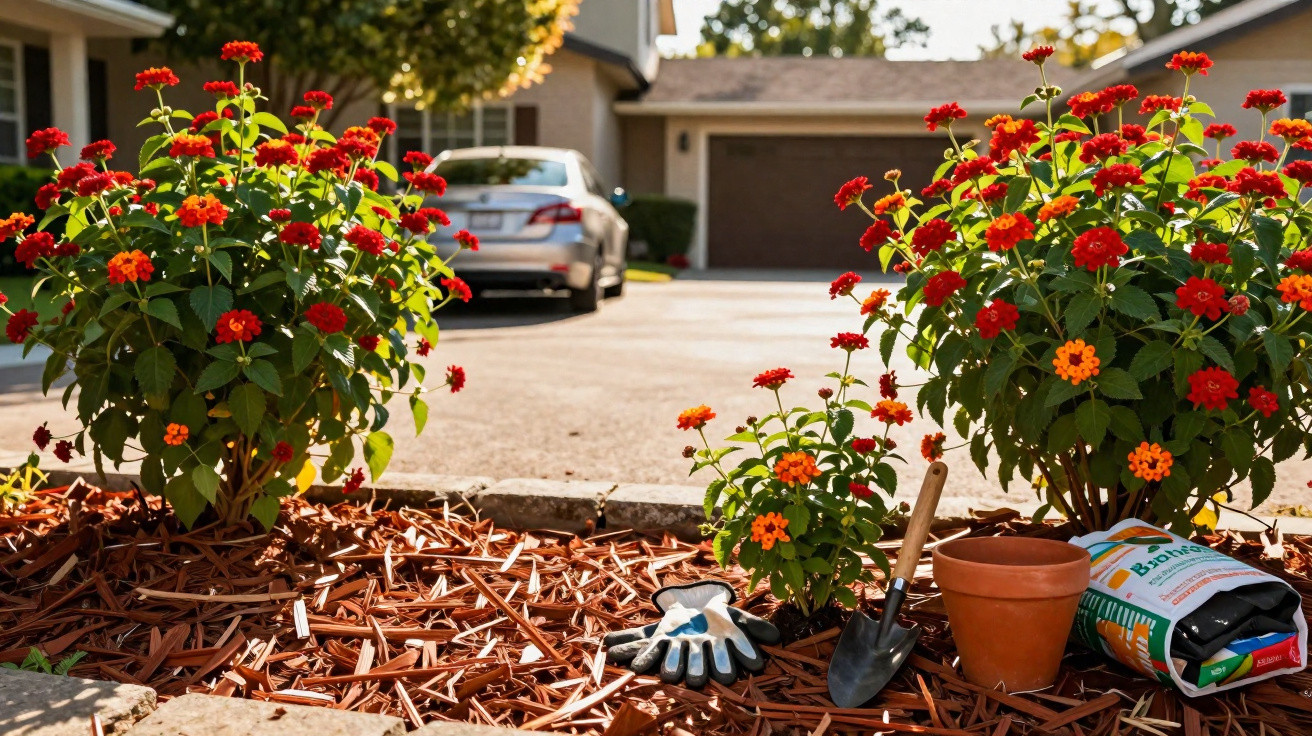
Once the ground around the roses is clear of plant debris, move on to the next measure: add a protective layer. Mulch has several beneficial effects at once.
How mulch slows the fungus down
Rain is the main way spores travel from the soil to fresh leaves. Every raindrop hitting the ground throws tiny fungal particles upwards. A mulch layer absorbs that impact, leaving the spores trapped beneath it.
Suitable materials include:
- mature compost
- bark mulch or shredded bark
- woodchip from untreated prunings
- a mixture of compost and bark
An experienced gardener recommends applying a clearly visible mulch layer, 2 to 5 centimetres deep, around each rose. The root zone should be fully covered, but the base of the stem must not be buried directly.
The benefits extend well beyond fungal protection:
- Weed growth around the roses is noticeably reduced.
- The soil retains moisture for longer, reducing the need to water.
- Organic mulch releases nutrients gradually.
“Mulch is not merely a covering: it also cushions raindrops, making it a natural barrier against fungal spores.”
Third job: feed roses purposefully at the end of March
A vigorous, well-nourished rose withstands disease far better than a poorly fed shrub. Applying the right fertiliser is therefore one of the key tasks in early spring.
Which nutrients roses really need
Roses are hungry plants. Above all, they need nitrogen, phosphorus and potassium, as well as a range of trace elements. Relying permanently on cheap fertiliser, or not feeding at all, risks weak shoots and vulnerable foliage – ideal conditions for fungal diseases.
Suitable options for the start of the season include:
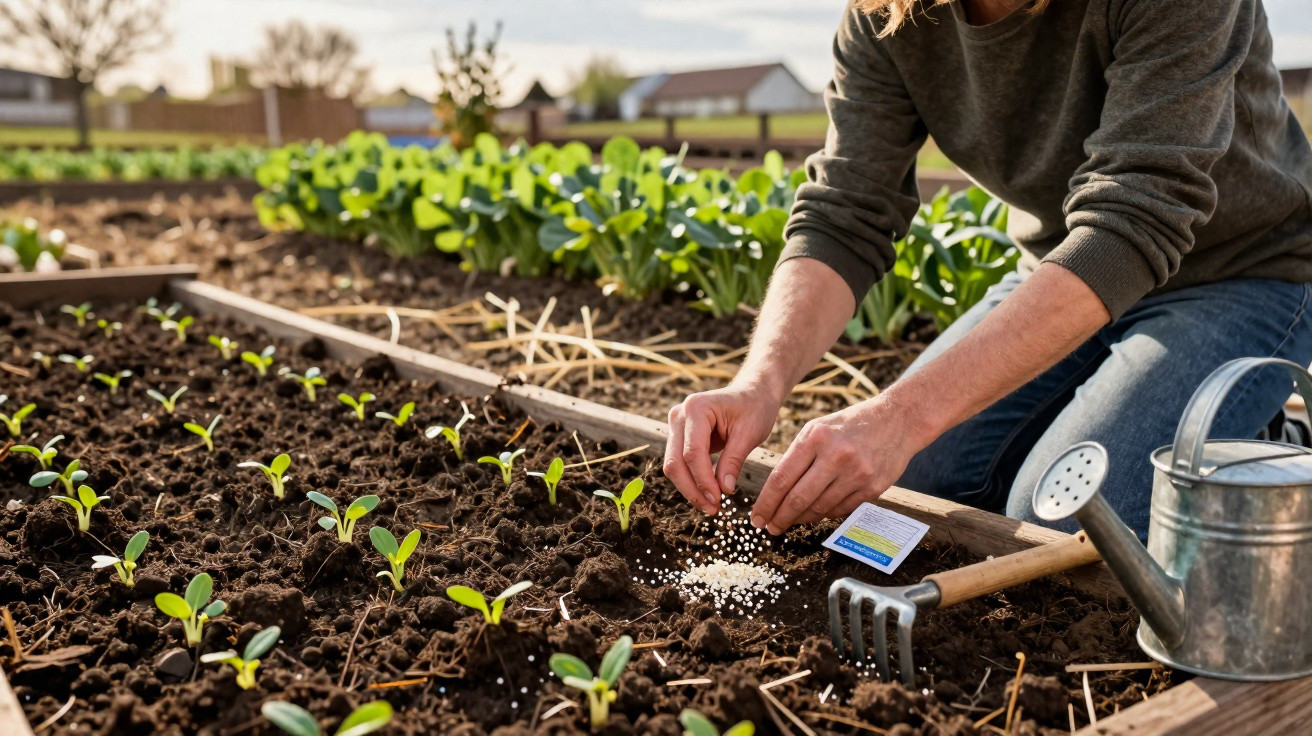
- organic rose fertiliser in granular form
- horn shavings combined with compost
- slow-release fertilisers specifically labelled for roses
- plant-based tonics or natural liquid feeds
Liquid plant-strengthening products are generally diluted with water and poured around the base of the plant. A typical ratio is about 10 millilitres per litre of water, depending on the product instructions.
“Well-fed roses develop strong foliage and thicker cell walls – making it much harder for fungal spores to penetrate.”
How to plan your feeding schedule
A general guide for amateur gardeners:
| Timing | Task |
|---|---|
| Mid to late March | First base feed with organic rose fertiliser |
| Late May to mid-June | Additional feed for the main flowering period |
| From August | Stop using nitrogen-rich fertiliser so shoots can ripen |
Anyone also using a liquid strengthening product can apply it once or twice in March and April, leaving two to three weeks between treatments.
Bonus: small care measures that increase success
The three March jobs provide the foundation. A few additional habits can improve roses’ resilience even further.
Adjust the position and watering method
Roses appreciate air and sunshine. A position where a light breeze can move through the shrubs allows foliage to dry faster. Leaves that remain damp for hours provide an ideal environment for the fungus.
A small change in watering also pays off: rather than spraying water over the foliage, water directly at the roots. Drip hoses or soaker hoses are ideal, although a standard watering can with a rose attachment also works – provided the water reaches the soil.
Choose resistant varieties
Anyone planting new roses can make a favourable choice from the outset. Many modern varieties are bred to be robust against fungal diseases. Catalogues and plant labels may include descriptions such as “very healthy” or “high leaf health”.
Some older, traditionally romantic varieties, by contrast, are more prone to black spot disease. In these cases, particularly consistent March care is worthwhile, or the plants can be replaced gradually.
What amateur gardeners often confuse – and why it causes problems
At first glance, black marks on rose leaves can all appear to be the same disease. In practice, however, several leaf problems have different causes. Treating them all as one can quickly lead to the wrong response.
With genuine black spot disease, the marks are usually scattered irregularly, look somewhat ragged around the edges and are accompanied by pronounced yellowing in the surrounding tissue. If the leaves then fall in large numbers, the fungus is the likely cause.
Other leaf-spot diseases or nutrient deficiencies can produce similar patterns, but they often occur evenly across the entire plant or remain smaller and rounder. None of the three March tasks will cause harm in these situations; they strengthen the rose in general. Chemical fungicides used without a clear diagnosis, on the other hand, achieve little.
Why March is the decisive moment for roses and black spot disease
By high summer, black spot disease is difficult to stop. The fungus is already active, established in the bed and present on many leaves. Sprays used at that stage can do no more than slow it down.
In March, by contrast, the fungus is still dormant at ground level, where it can be reached easily with a rake, spade and mulch. Fresh growth is about to emerge or is only just beginning. Acting now protects the future foliage like an invisible shield.
The three jobs – clearing, mulching and feeding – usually take only a few minutes per rose. Yet the difference in summer can be dramatic: lush green, freely flowering shrubs instead of half-bare skeletons carrying a few sad buds.





Comments
No comments yet. Be the first to comment!
Leave a Comment