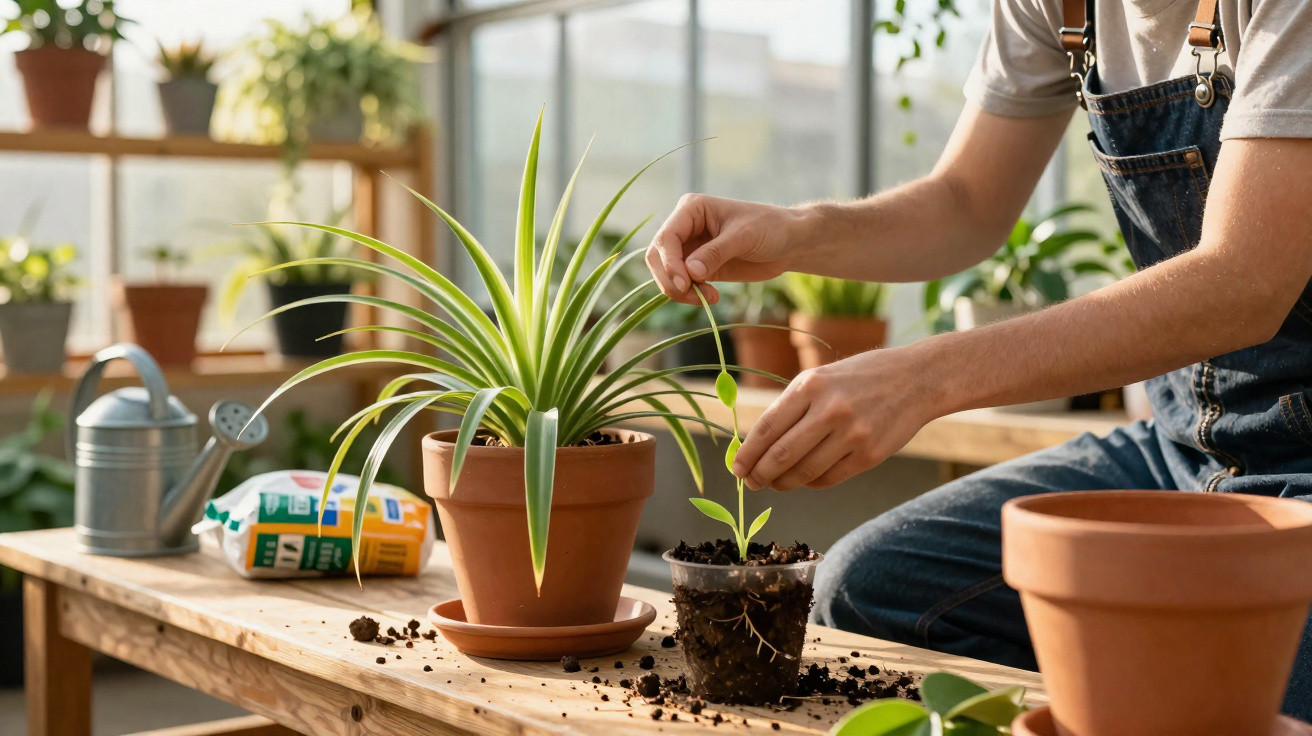
The reason is often down to two simple care mistakes.
Many plant enthusiasts become frustrated with their spider plant: it has lush foliage and strong roots, yet not a single tiny plantlet appears at the end of its long shoots. This plant is generally considered a propagation champion. Once you understand which signals it needs to produce babies, you can encourage it deliberately – and quickly turn one plant into a whole collection.
How the spider plant decides whether to produce plantlets
The classic indoor spider plant (botanical name Chlorophytum comosum) usually begins producing offspring in large numbers only after one to two years. It then sends out long, trailing shoots, known as runners or stolons. Small leaf rosettes – the plantlets – develop at their ends.
These miniature plants are essentially fully formed spider plants in a smaller version. At first, they remain attached to the parent plant, which supplies them with water and nutrients. The spider plant’s thick, fleshy roots act as storage organs, providing the energy needed for this demanding form of propagation. The plant only begins its “offspring” programme once it has built up sufficient reserves.
A spider plant without plantlets is usually not being “stubborn”; it simply is not in the right mode yet: unsuitable light and too much comfort suppress the urge to propagate.
At the same time, spider plants respond strongly to their surroundings. Light levels, pot size, nutrient supply and a slight degree of stress determine whether the plant continues putting energy into roots and leaves or invests it in reproduction.
Light: why too much brightness can inhibit spider plant plantlets
Spider plants thrive in bright, indirect light. In a dark position, they grow weakly and become leggy. What may come as a surprise is that although a plant may be in a bright spot, excessively long periods of illumination can still reduce plantlet production.
In nature, the plant responds to shorter days, meaning fewer hours of light, by flowering and then producing plantlets. You can recreate this effect indoors:
- Place it near an east- or west-facing window, away from harsh midday sunshine.
- Give it bright conditions, but not direct sunlight for hours at a time.
- Keep daily light exposure below 12 hours for several weeks.
If you use artificial grow lights, shorten the timer deliberately. Around three weeks of “shorter days” is often enough for the plant to produce flowers first, followed by plantlets on its shoots.
Pot and roots: a little confinement encourages offspring
The pot is a second point that is often underestimated. Many owners place their spider plant in a generously sized container in the hope of “spoiling” it. In many cases, this is precisely what prevents it from making plantlets.
A spider plant is happiest when its pot is lightly root-bound. It prefers its roots to fill the edges well and for the root ball to remain stable. This moderate restriction sends a signal that space is gradually becoming limited, making propagation worthwhile.
| Pot situation | Likely response from the plant |
|---|---|
| Very large pot, lots of fresh compost | Strong root and leaf growth, with few or no plantlets |
| Lightly root-bound pot | Good chance of flowers, stolons and plantlets |
| Extremely cramped pot, containing almost nothing but roots | Growth stops, stress increases and leaf tips dry out |
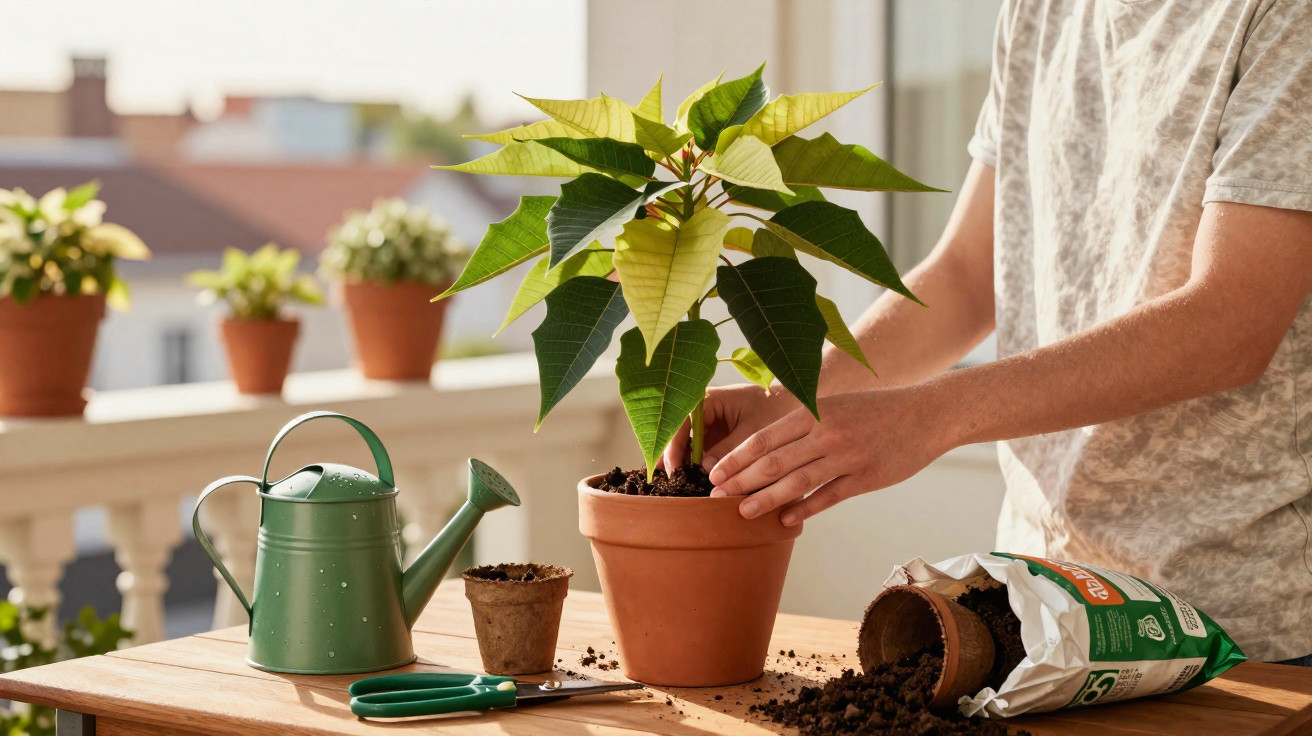
Repotting every two years is normally sufficient. When you do so, choose a pot only one size larger rather than an XXL version. This retains the slight lack of space that encourages propagation.
Nutrients and water: why being too generous can backfire
Many houseplant growers water and feed their spider plants very generously. Although this produces plenty of foliage, it shifts the plant’s focus towards straightforward growth rather than reproduction.
To create conditions in which plantlets become much more likely, follow these guidelines:
- Feeding: apply a standard liquid fertiliser once a month in spring and summer, using a relatively low dose.
- Watering: water again only once the top layer of compost has dried out, and avoid waterlogging at all costs.
- Temperature: 18 to 22 degrees is ideal; avoid cold draughts.
- Humidity: ordinary indoor humidity is enough, although a light misting will do no harm.
This combination of good but not excessive care and mild drying stress between waterings often puts the plant into the desired propagation mode.
Separating and rooting spider plant plantlets correctly
As soon as the small leaf rosettes at the ends of the shoots show their first root buds, they are ready to live independently. Ideally, wait until spring or early summer, when the young plants establish themselves most quickly.
Cut them off or pin them down first? Two successful methods
There are two reliable ways to remove plantlets:
- Separate directly: Use clean scissors or a sharp knife to cut the runner around two centimetres below the leaf rosette. Put the small “handle” into compost or place it in water.
- Pin into a pot: Put the plantlet into a small pot of loose compost, but leave the runner attached to the parent plant at first. Cut the connection only once the offset has visibly produced roots and is firmly anchored.
Both approaches work reliably. If you are unsure, start with the second method: the parent plant will continue to nourish the offspring while it forms roots in its new pot.
Rooting in water or directly in compost
You can also choose between two rooting methods:
- In a glass of water: Place the lower part of the plantlet in a glass of water, ensuring that the leaves do not touch the water. Roots measuring two to three centimetres long usually form within one to three weeks. Plant it in compost afterwards.
- Directly in substrate: Place the plantlet in a loose, well-draining substrate, press it in lightly and keep it evenly moist without making it waterlogged.
Young spider plants prefer a gentle, bright setting: no intense sunshine, steady temperatures of around 20 degrees and slightly higher humidity. Wait four to six weeks before feeding, then use only a very weak dose.
When no plantlets appear despite every trick
Sometimes a spider plant remains reluctant even after its conditions have been improved. In that case, it is worth checking a few further points:
- Age of the plant: Very young specimens, under one year old, focus almost entirely on building leaves and roots.
- Varietal differences: Some cultivated varieties naturally produce fewer offspring than the classic green-leaved type.
- Stress factors: Draughts, major temperature fluctuations or permanently wet compost weaken the plant, leaving it with no energy for plantlets.
If the plant looks healthy overall, patience is worthwhile. In many cases, a change of season and more natural day length are enough for several runners carrying plantlets to suddenly hang over the edge of the pot.
How many spider plants can your home accommodate?
Once you understand the process, you may soon face a luxury problem: one plant can provide a whole army of offsets in a short time. As spider plants are relatively hardy, they make excellent gifts or plants for swapping.
One further note: spider plants are considered relatively air-purifying because they can absorb certain pollutants from indoor air. At the same time, their fleshy roots and leaves are highly appealing to cats. Small amounts are usually harmless for pets, but larger quantities can cause gastrointestinal upset. If you have inquisitive house cats, it is therefore best to keep the plant out of reach.
By managing light duration, pot size, water and nutrients consciously, you can encourage your spider plant to propagate. The two most common obstacles – overly long lighting and excessively generous pots – can be corrected with just a few simple changes. One green clump can then quickly become a whole jungle of home-grown plants.


Comments
No comments yet. Be the first to comment!
Leave a Comment