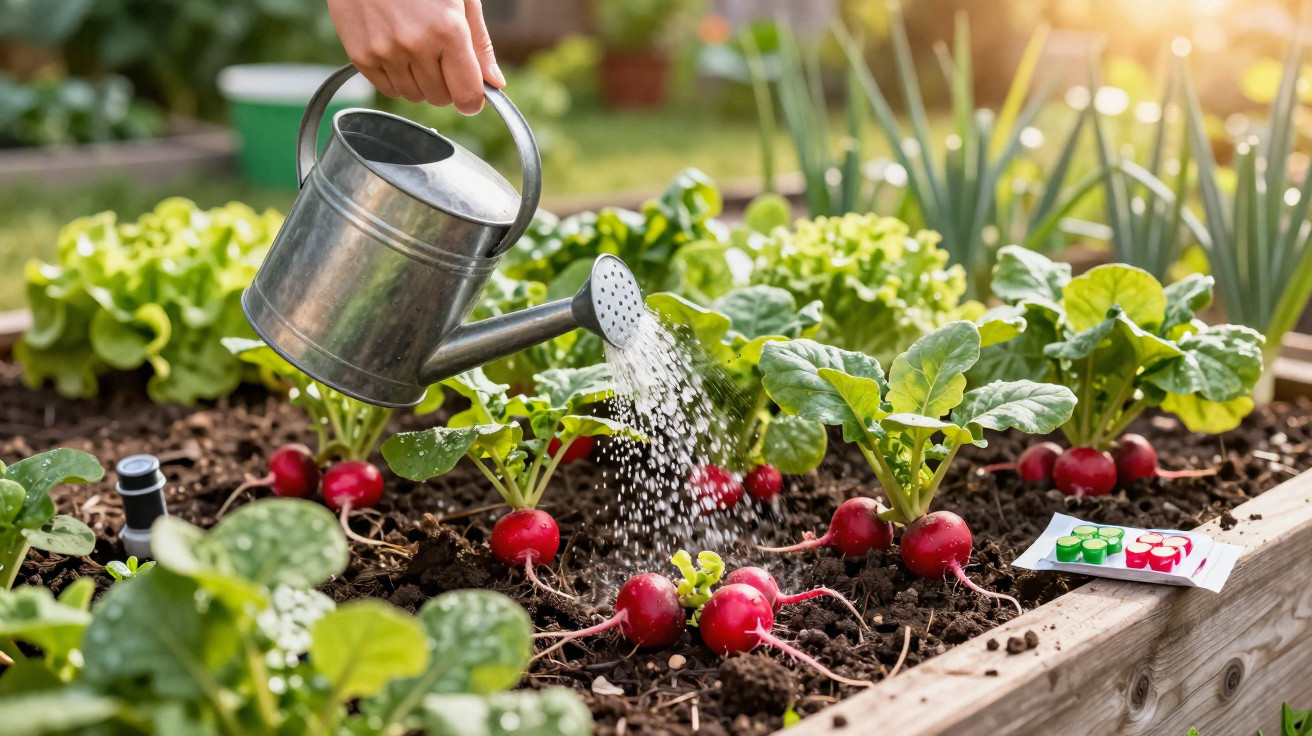
Radishes are often seen as the ideal beginner’s vegetable: quick to grow, straightforward and attractively red. Yet in reality, growing them surprisingly often results in fibrous, hot roots that are more likely to end up in the food-waste bin than in a salad. The difference between a disappointing crop and a crisp snack lies chiefly in one simple but consistently applied technique: maintaining even moisture from day one, alongside the right variety, a suitable position and a little discipline at harvest time.
Why radishes deteriorate so quickly
Radishes grow at speed, which is precisely why they are sensitive. Even a few stressful days can immediately affect their flavour and texture. Two factors are especially troublesome: dry spells and major fluctuations in watering.
“Radishes like neither bone-dry nor soaking-wet conditions – they need a bed that remains consistently lightly moist.”
When the opposite happens, familiar problems appear:
- Drought and heat: The roots become hot and develop a woody texture.
- Alternating dry and wet conditions: The roots suddenly take up too much water, split and crack.
- Left in the ground for too long: The flesh turns spongy, while the root loses its crunch and flavour.
Once you understand these triggers, you can tackle them specifically. This is where the straightforward “trick” comes in, one that experienced vegetable gardeners almost use automatically.
The simple trick: a radish bed with even moisture
Rather than relying on specialist fertilisers or miracle products, professional growers use something much more down to earth: a well-prepared bed that retains water without becoming waterlogged. Loose, humus-rich soil provides the foundation. It holds moisture without turning into heavy sludge.
Preparing the soil properly for radishes
Before sowing, a little manual work is worthwhile. The ideal routine is as follows:
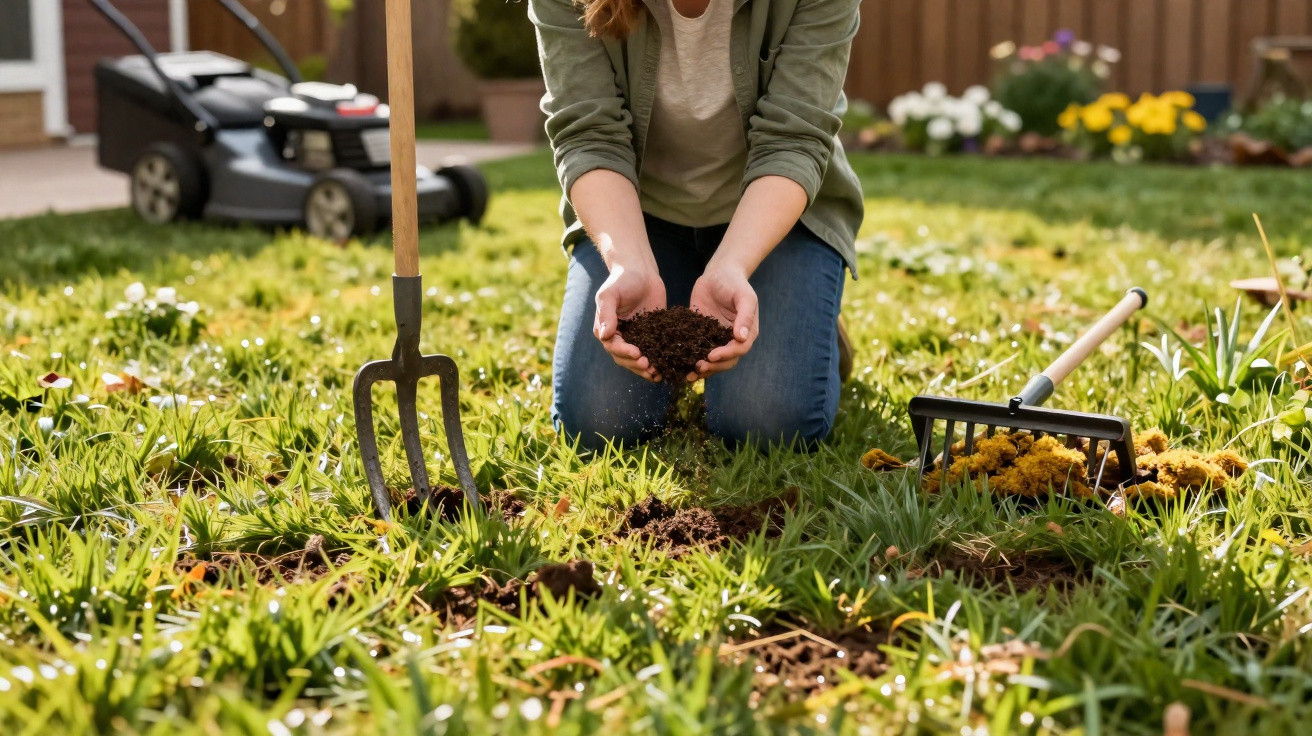
- Loosen the soil with a rake and remove larger stones.
- Work in mature compost or fine humus to make the soil fertile and open.
- Prevent standing water: improve heavy clay soils with sand or fine gravel.
Choose a sunny to lightly shaded site. A shallow radish bed dries out rapidly in fierce midday sun, whereas plants stay stunted in deep shade.
How to water radishes correctly
Many gardeners make the same instinctive mistake: they water infrequently but heavily. For radishes, this is damaging. A calm, consistent routine is much better:
- During germination: The bed must not dry out. It is preferable to top up moisture briefly in the morning rather than drenching it only every few days.
- As the roots begin to swell: Keep the soil evenly moist, but do not allow puddles to form.
- During hot weather: Water early in the morning or late in the evening so less water evaporates.
A thin layer of fine mulch is useful, such as well-wilted grass clippings or leaf compost. It stops the surface from drying out too quickly without smothering the delicate seedlings.
Sowing, spacing and varieties: laying the foundations
Correct watering alone is not enough. Anyone seeking perfect roots must also pay attention to variety, timing and spacing, because not every radish variety copes equally well with every season.
Early, late and in-between varieties
For an early start to the year, there are special varieties that cope better with short days and cool nights. These types are less likely to bolt, meaning they are less prone to producing flowers prematurely. Later summer varieties tolerate higher temperatures, but react poorly if they are sown too early into soil that is still cold.
A general guide for home gardeners:
| Period | Suitable varieties | Note |
|---|---|---|
| Cold frame / very early spring | Spring varieties | Tolerate cool conditions but need frost protection |
| Spring to early summer | All-round varieties | Well suited to beds in the home garden |
| High summer | Heat-tolerant varieties | Ensure sufficient water and partial shade |
The right spacing: fewer seeds, better radishes
When sowing, restraint is essential. Many people scatter seeds far too densely. The result is tiny roots that restrict one another’s growth. A clearly defined row in the bed works better:
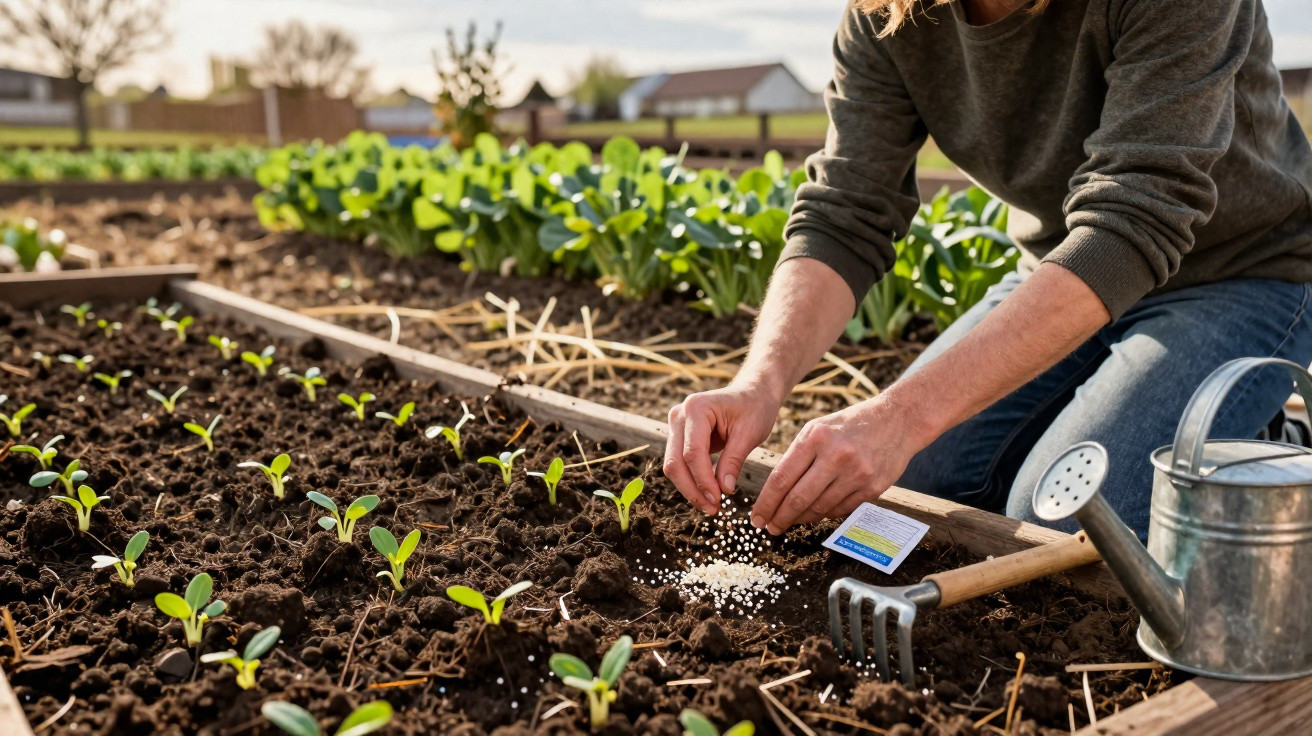
- Make a drill around 1 cm deep.
- Space the seeds so that there are 3 to 5 cm between them.
- Leave around 15 cm between rows.
If you sow more densely at first, thin the seedlings decisively after they emerge, leaving around 5 to 8 cm between plants. Removing small plants can feel slightly painful, but it is the only way to produce round, substantial roots later on.
Harvest at the right time: discipline pays off
Radishes are extreme sprinters in the vegetable patch. Depending on the weather, the roots are often ready in as little as four to six weeks. This is exactly where many gardeners go wrong: they wait too long, hoping that the radishes will grow even bigger.
“Anyone who leaves overripe radishes in the soil will not harvest superb roots, but spongy, bland bulbs.”
A look and a gentle pull are enough to test them. The root should feel plump and firm, be roughly walnut-sized, and pull easily from the soil. If cracks have already appeared, or if the flesh feels soft when cut open, the ideal harvest point has passed.
Succession sowing instead of one huge radish bed
A common mistake is sowing one enormous radish bed in spring, then being overwhelmed by radishes for a fortnight while having none for the rest of the season. A more sensible approach is succession sowing.
The principle is simple:
- Sow a small row every two weeks rather than filling the entire bed in one go.
- Once a row has been harvested, sow it again straight away, as long as the season permits.
- This keeps the supply steady and means nothing has to remain in the soil for too long.
This approach provides fresh roots from the garden time and again, without having to eat nothing but radish salad for four days.
Practical tips: companion planting and pest protection
Radishes work particularly well as gap-fillers between slower-growing vegetables such as carrots, kohlrabi or lettuce. They help loosen the soil and are harvested before the main crop needs the space.
Suitable neighbours in the bed include:
- Leaf lettuces
- Spinach
- Carrots
- Kohlrabi
Growing them alongside other brassicas, including cabbage or rocket, is more problematic because these crops attract similar pests. This can increase pressure from flea beetles or cabbage root flies. A simple garden fleece placed over the bed can greatly reduce many of these pests.
Risks, mistakes and how to avoid them
Most radish failures can be traced back to a small number of causes:
- Split roots: A period that is too dry, followed by a sudden large amount of water.
- Woody, hot roots: Prolonged drought, heat or leaving them in the ground too long.
- No root, only leaves: Too little light, overcrowding or a variety unsuited to the time of year.
Those who inspect their plants regularly will spot issues early. A short walk through the garden with a watering can or hose in the morning is often enough to correct matters. When the top layer of soil becomes crumbly and pale, it is time to water.
What gardeners should also know about radishes
Botanically, radishes belong to the large brassica family. They therefore share many traits with cabbage, mustard and rocket. This also explains their distinctive, mildly hot flavour: it comes from mustard oils produced by the plant for self-protection. Their levels increase markedly under stress, such as heat and drought, and the flavour can quickly become unpleasant.
For everyday use, there is another interesting point: not only the root is edible, but the leaves are too. Young, healthy radish leaves work well in smoothies and pesto, or as a peppery addition to salads. So, if small plants have to be removed while thinning, they can be used in the kitchen rather than thrown onto the compost heap.
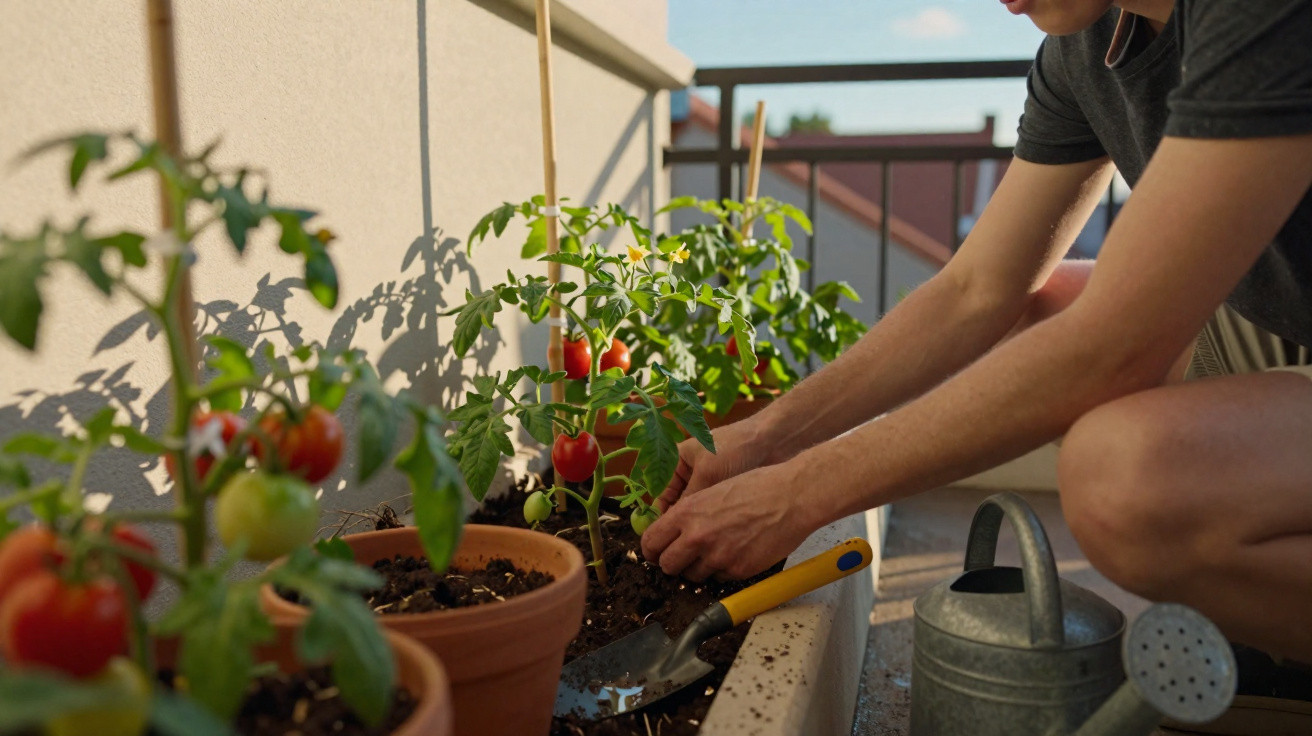
Once you have absorbed the basics of even moisture, correct spacing and early harvesting, radishes can almost look after themselves in a cold frame, raised bed or even a larger balcony planter. The small roots then become not a last-minute addition to the plate, but a deliberate, crisp accompaniment to sandwiches, salads and a barbecue evening.



Comments
No comments yet. Be the first to comment!
Leave a Comment