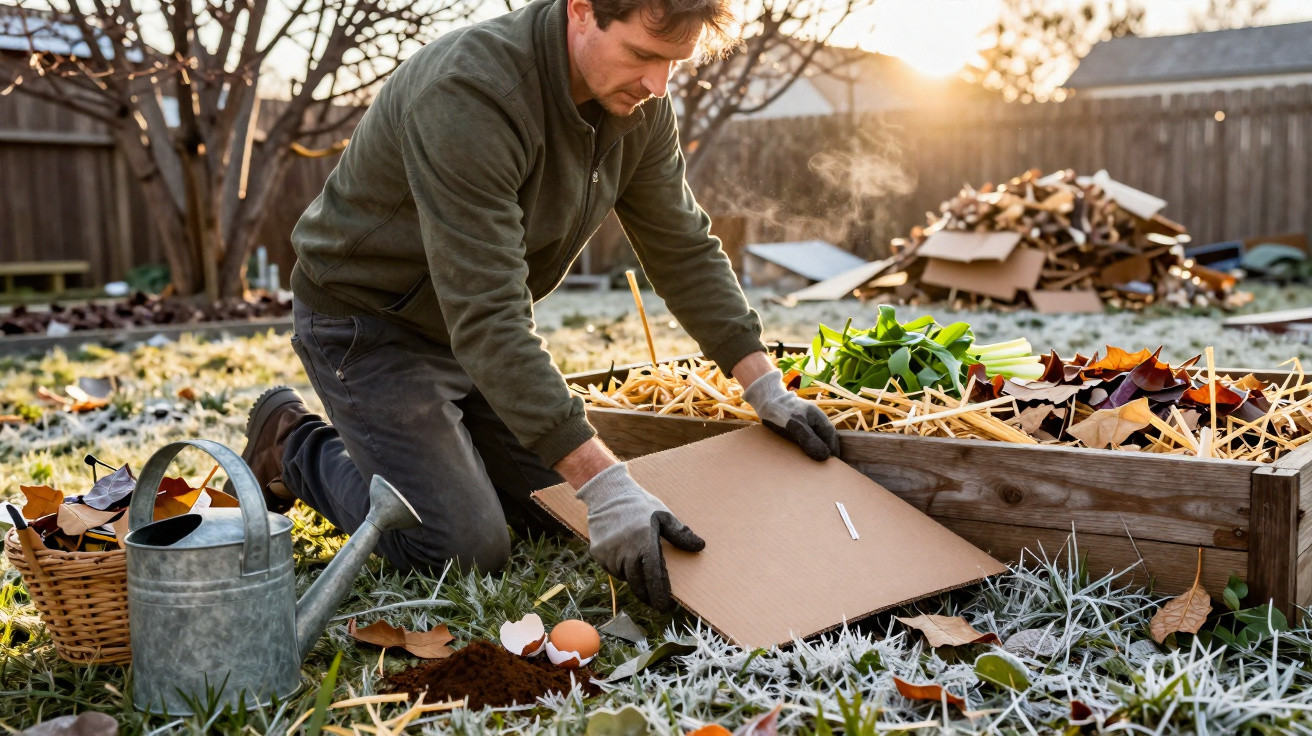
While the beds are frozen, the groundwork for the year's harvest is already under way beneath the soil – provided you prepare wisely now.
Many home gardeners wait for the first mild days before getting started in the vegetable garden. In doing so, they lose a valuable head start. One simple, almost labour-free technique can turn tired, heavy soil into a loose, fertile haven for tomatoes, courgettes and more, even in the depths of winter.
What the “lasagne garden” is really about
The name may sound culinary, but it describes a smart layered growing method: with lasagne gardening, different organic materials are placed on top of one another in layers, much like the Italian dish. Instead of pasta, sauce and cheese, the bed receives cardboard, kitchen scraps, leaves, straw and manure.
A lasagne garden is essentially a compost heap built directly in the vegetable bed – simply spread out flat.
The aim is not to feed plants directly, but to nourish the soil. The layers slowly rot exactly where roots will later grow. This creates a living, humus-rich topsoil that retains water, stays friable and is full of soil life.
The approach takes its cue from nature. No one clears the forest floor: leaves, twigs and dead plants remain where they fall, decay, and gradually form a humus-rich layer. A lasagne garden copies this process, but speeds it up and confines it to a clearly defined area.
Why winter is the ideal time to begin
Starting in January or February makes the best use of the cold season. Rain, snow and fluctuating temperatures help to moisten and break down the layers. Microorganisms and soil creatures have several months to transform the materials.
By April or May, the “lasagne” will have sunk considerably. Coarse materials will have become a dark, crumbly structure. Just as young plants are ready to go into the bed, you will have loose, fully prepared soil – without a rotary cultivator, spade or backache.
The starting point: cardboard as a clever base layer
The first step surprises many people: a layer of plain brown corrugated cardboard, preferably uncoated, goes at the bottom. Lay it straight over the existing surface, whether that is lawn, a weedy patch or bare soil.
The cardboard acts as a biodegradable weed barrier while also providing food for earthworms.
How to prepare the base properly
- Remove tape, metal staples and plastic parts from the cardboard.
- Lay the sheets with generous overlaps so that no gaps remain.
- Allow at least several centimetres of overlap along every edge.
- Water the cardboard thoroughly until it is completely soaked.
The cardboard blocks out light, causing the grass and perennial weeds beneath it to die back and decay in place. At the same time, it provides plenty of carbon, which microorganisms and earthworms thrive on. Moisture makes it soft and permeable, allowing soil life to move upwards into the lasagne layers.
The essential balance between “brown” and “green” materials
The real construction begins above the cardboard. The key factor is the balance between carbon-rich “brown” materials and nitrogen-rich “green” materials. This balance determines how quickly, and how cleanly, the layers decompose.
Too much “green” makes the layers rot, while too much “brown” almost stops decomposition altogether.
Typical “brown” materials (carbon)
- Leaves collected in autumn
- Straw or hay
- Woodchip and thin twigs
- Unprinted newspaper, not glossy paper
- A small amount of sawdust, used sparingly
Typical “green” materials (nitrogen)
- Kitchen scraps such as vegetable and fruit peelings
- Coffee grounds and tea bags, without plastic components
- Dried or fresh grass cuttings from the previous season
- Fresh or well-rotted animal manure, for example from horses, chickens or rabbits
A simple rule of thumb is useful: use two parts “brown” to one part “green”. The brown layers can be slightly thicker, as they provide structure and hold moisture.
Building a fertile bed layer by layer
Start on top of the wet cardboard with a loose, coarse layer, such as straw or thin twigs. This keeps air within the lasagne, preventing the materials from clumping together and becoming smelly.
Next comes a layer of “green” material, such as kitchen scraps or manure. Cover this with a thick “brown” layer of leaves or straw. Then add another “green” layer, followed by another “brown” one, until you have created a mound around 30 to 50 centimetres high.
Do not be concerned about the height: by spring, the lasagne mound will sink to roughly half its original size.
It is worth helping things along from time to time with a watering can. Moisture drives decomposition. The materials should be damp but not soaking wet – like a squeezed sponge.
Your own garden as a mini recycling centre
Lasagne gardening makes a household noticeably more resource-efficient. Rather than sending organic leftovers to the food-waste bin or recycling centre, the garden becomes a place where they can be used directly.
In winter especially, the kitchen produces plenty of plant-based waste: citrus peel, in moderate amounts only, pumpkin leftovers, carrot tops, and cabbage stalks and leaves. None of this needs to go in the bin; it can all become part of a lasagne layer – a kind of long-term nutrient package for the coming vegetable season.
| Type of waste | Where should it go? |
|---|---|
| Vegetable and fruit scraps | Incorporate as a “green” layer |
| Old leaves and straw | Use as a thick “brown” covering layer |
| Spent perennial plant material | Chop up and mix in |
| Old compost from containers | Scatter thinly; it adds microorganisms and minerals |
The contents of old flowerpots are useful too: even exhausted compost provides structure, some nutrients and, above all, microorganisms that “inoculate” the fresh layers.
The soil workforce does all the work by itself
Once the lasagne mound has been built and watered well, you can largely leave it alone. Beneath the surface, an invisible workforce takes over: earthworms, woodlice, springtails, mites, bacteria and fungi move in.
What a spade would normally do is handled by billions of tiny helpers – day and night, free of charge.
Earthworms create vertical tunnels from the original soil up into the lasagne layers. This loosens and aerates the ground below. Their castings form an exceptionally nutrient-rich crumbly soil that vegetable plants can use particularly well.
Slow decomposition also produces a little warmth. This natural soil heating keeps soil life active even in cold weather and ensures the bed warms up more quickly in spring. The result is an earlier start for sowing and planting out.
In spring: plant straight in without digging
When temperatures rise, the results become clear. The formerly substantial mound will have shrunk, and the individual materials will barely be recognisable. In their place is a dark, loose layer with the pleasant scent of woodland soil.
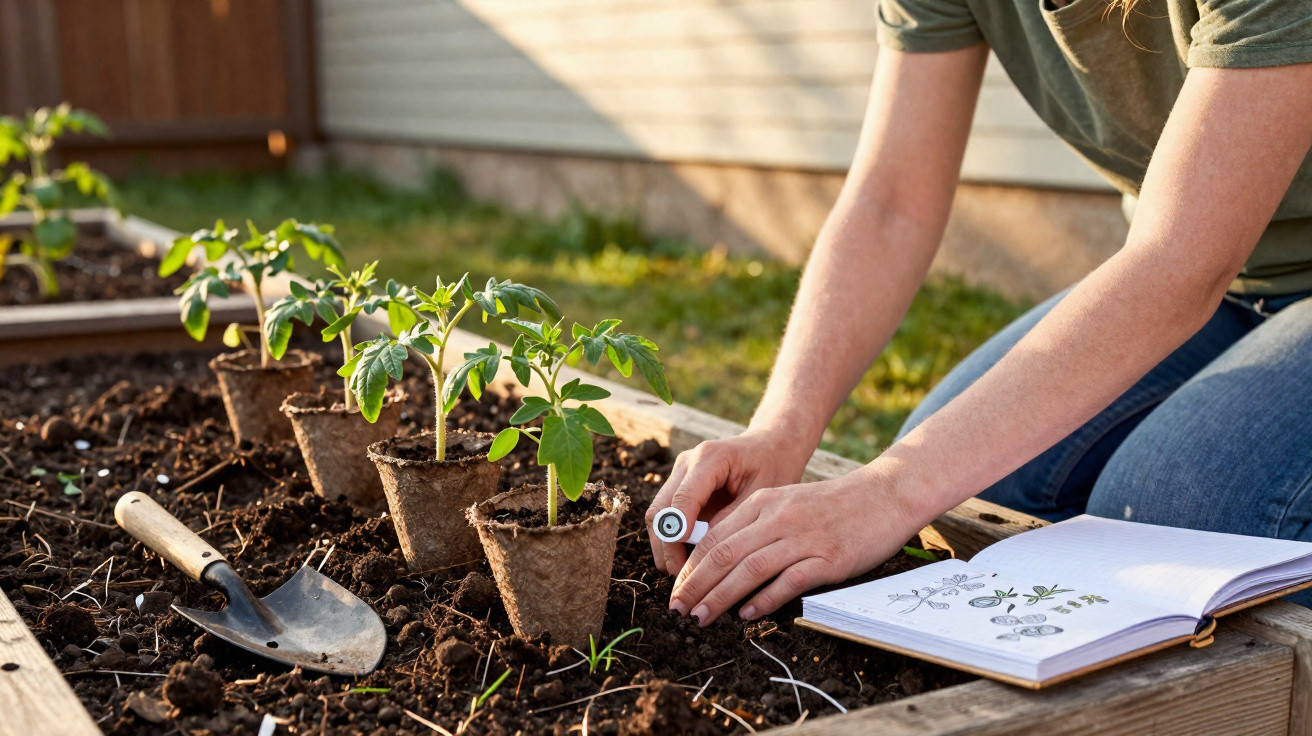
Planting could not be simpler: move aside a little material at the top, make a planting hole, add a handful of fine planting compost or garden soil if needed, set in the young plant and firm it gently. Nothing more is required.
Even heavy clay soils can feel remarkably light after one season of lasagne gardening.
Because the soil contains so much organic matter, it holds water more effectively and is less likely to form a surface crust after rain. Weed pressure is greatly reduced, as many seeds simply cannot germinate in the darkness beneath the cardboard layers.
Common mistakes and how to avoid them
Adding too much “green” material at once
Applying large quantities of fresh grass cuttings or manure in one thick, compact layer can lead to rotting and unpleasant smells. Use thinner layers instead, always covering them well with “brown” material.
Plastic and coatings in cardboard
Coated cardboard, coloured glossy paper and prints with a metallic sheen do not belong in a lasagne garden. They break down poorly and may introduce harmful substances.
Too little water
Dry layers sit in the bed like dead material. Without moisture, microorganisms remain inactive. On frost-free winter days, it is worth checking the bed and giving it a thorough watering if necessary.
Who benefits most from a lasagne garden
This method is particularly suitable for people with:
- heavy, compacted soil that is difficult to dig
- little time or physical capacity for conventional soil management
- lawn areas they want to convert into beds
- plenty of kitchen and garden waste that should be put to good use
People gardening in rented gardens, community gardens or on leased plots can benefit as well: the soil is improved without major alterations or heavy machinery.
Practical additions: companion planting and mulch
Once the bed is in use in spring, a lasagne garden works particularly well with companion planting. Deep-rooting plants such as parsnips, lupins or sunflowers grow through the loose layer and help loosen the subsoil further. Shallow-rooted lettuces make use of the upper humus layer.
After planting, a thin mulch layer of straw or shredded material is worthwhile. It protects the lasagne surface from drying out, suppresses weeds and continues feeding soil life over the long term. This keeps the bed productive for several years without digging again.
Anyone who has felt how easily the soil crumbles between their fingers, and seen how strongly vegetable plants grow in it, will often leave the spade in the shed for good. The combination of winter dormancy, kitchen scraps and a little cardboard is enough to turn the soil into a quiet but highly productive ally.



Comments
No comments yet. Be the first to comment!
Leave a Comment